Introduction

There’s something magical about stumbling upon a camera you’ve never seen before, especially one that feels like it holds a story. That’s exactly how I felt when I found my Stereo Realist camera.

I had never heard of the Stereo Realist before then, but holding it felt like holding a piece of photographic history. It represented a milestone in the evolution of 3D imaging technology — a bridge between the past and what would eventually become today’s VR and 3D digital experiences. It’s not a camera you see every day (or really, ever), and that’s exactly what made it so exciting to explore.

Front side of Stereo Realist Stereoscopic 3D Camera with cover flap open, stylized image

Brief History

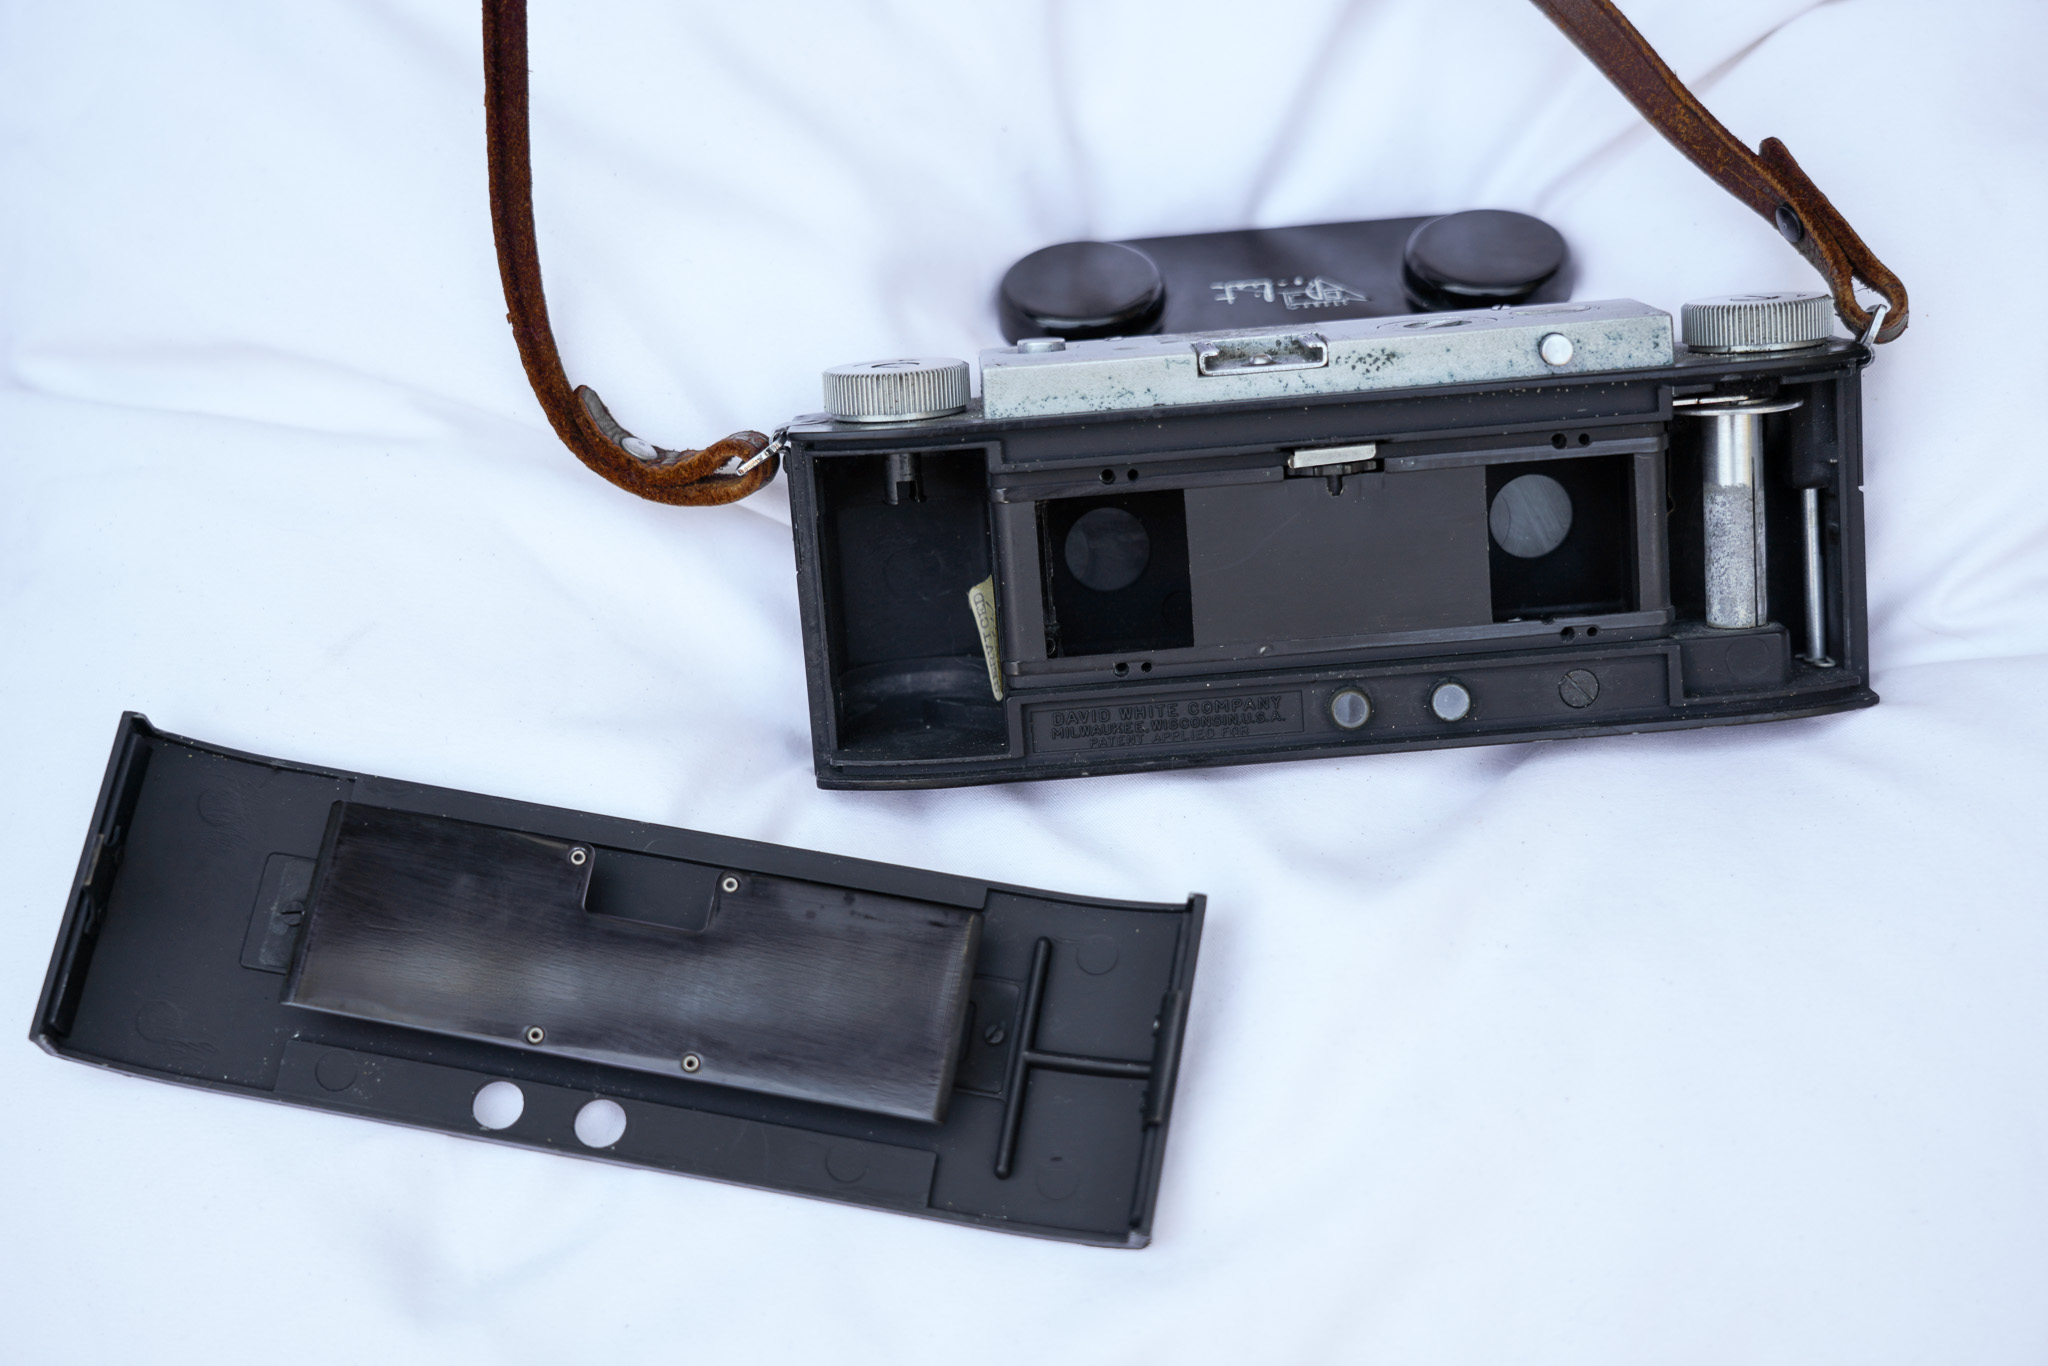
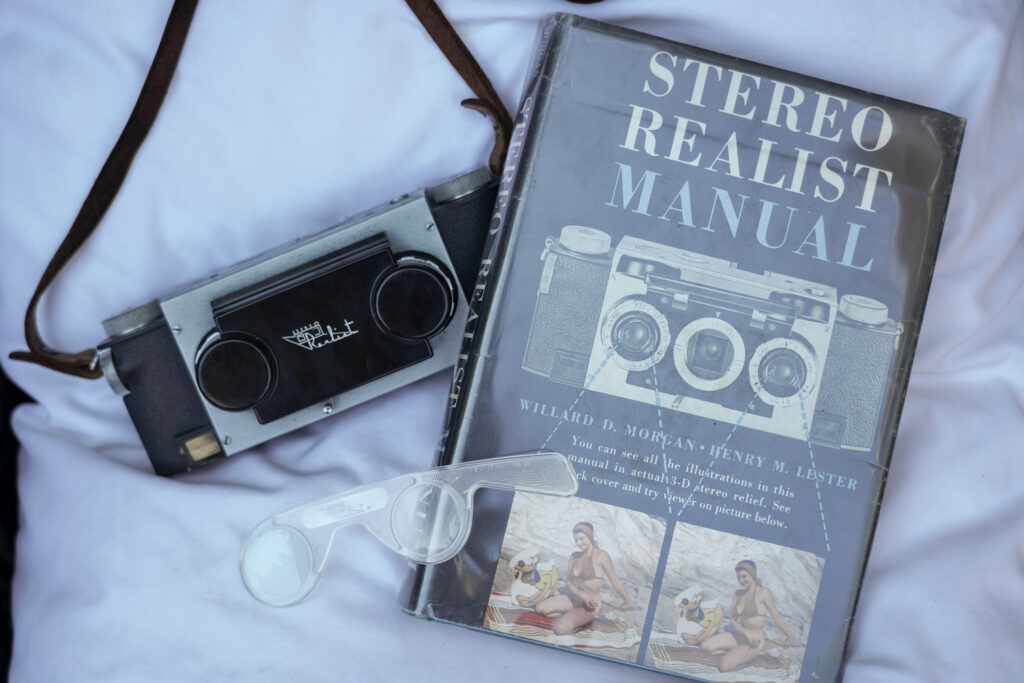
The Stereo Realist was introduced in 1947 by the David White Company, based in Milwaukee, Wisconsin. It was designed by Seton Rochwite, an engineer and passionate hobbyist who had been experimenting with stereo cameras since the 1920s. His goal was to create a 35mm stereo camera that was compact enough for casual photographers yet precise enough to produce professional-quality 3D images.


When it officially launched, with full-scale production starting in 1948, the Stereo Realist was a revelation. It used standard 35mm film, which was a huge advantage over earlier stereo cameras that required specialized or medium-format film. This innovation made stereoscopic film photography more accessible and practical for everyday enthusiasts.


Marketing played a big role in its popularity. The David White Company promoted the Stereo Realist as the ultimate way for families to capture vacations, celebrations, and special moments in immersive 3D, a concept that felt futuristic in the 1950s. At the time, stereo slide shows were a social event. Families and friends would gather around special viewers or projectors to experience images that seemed to jump off the screen.


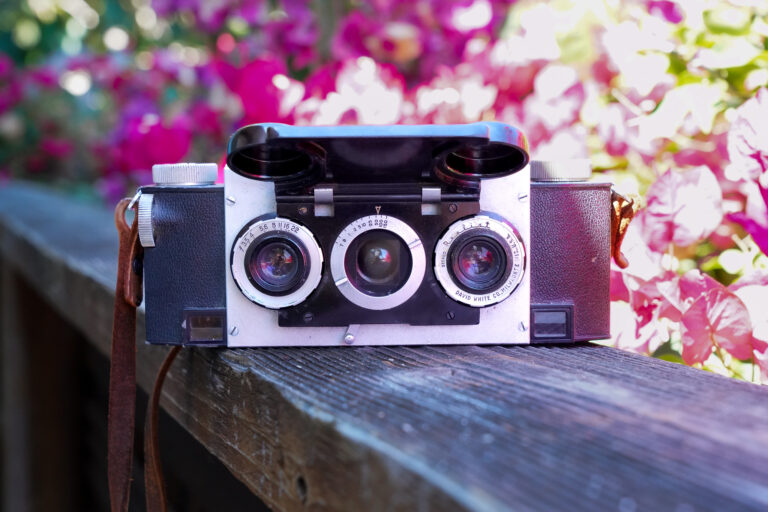
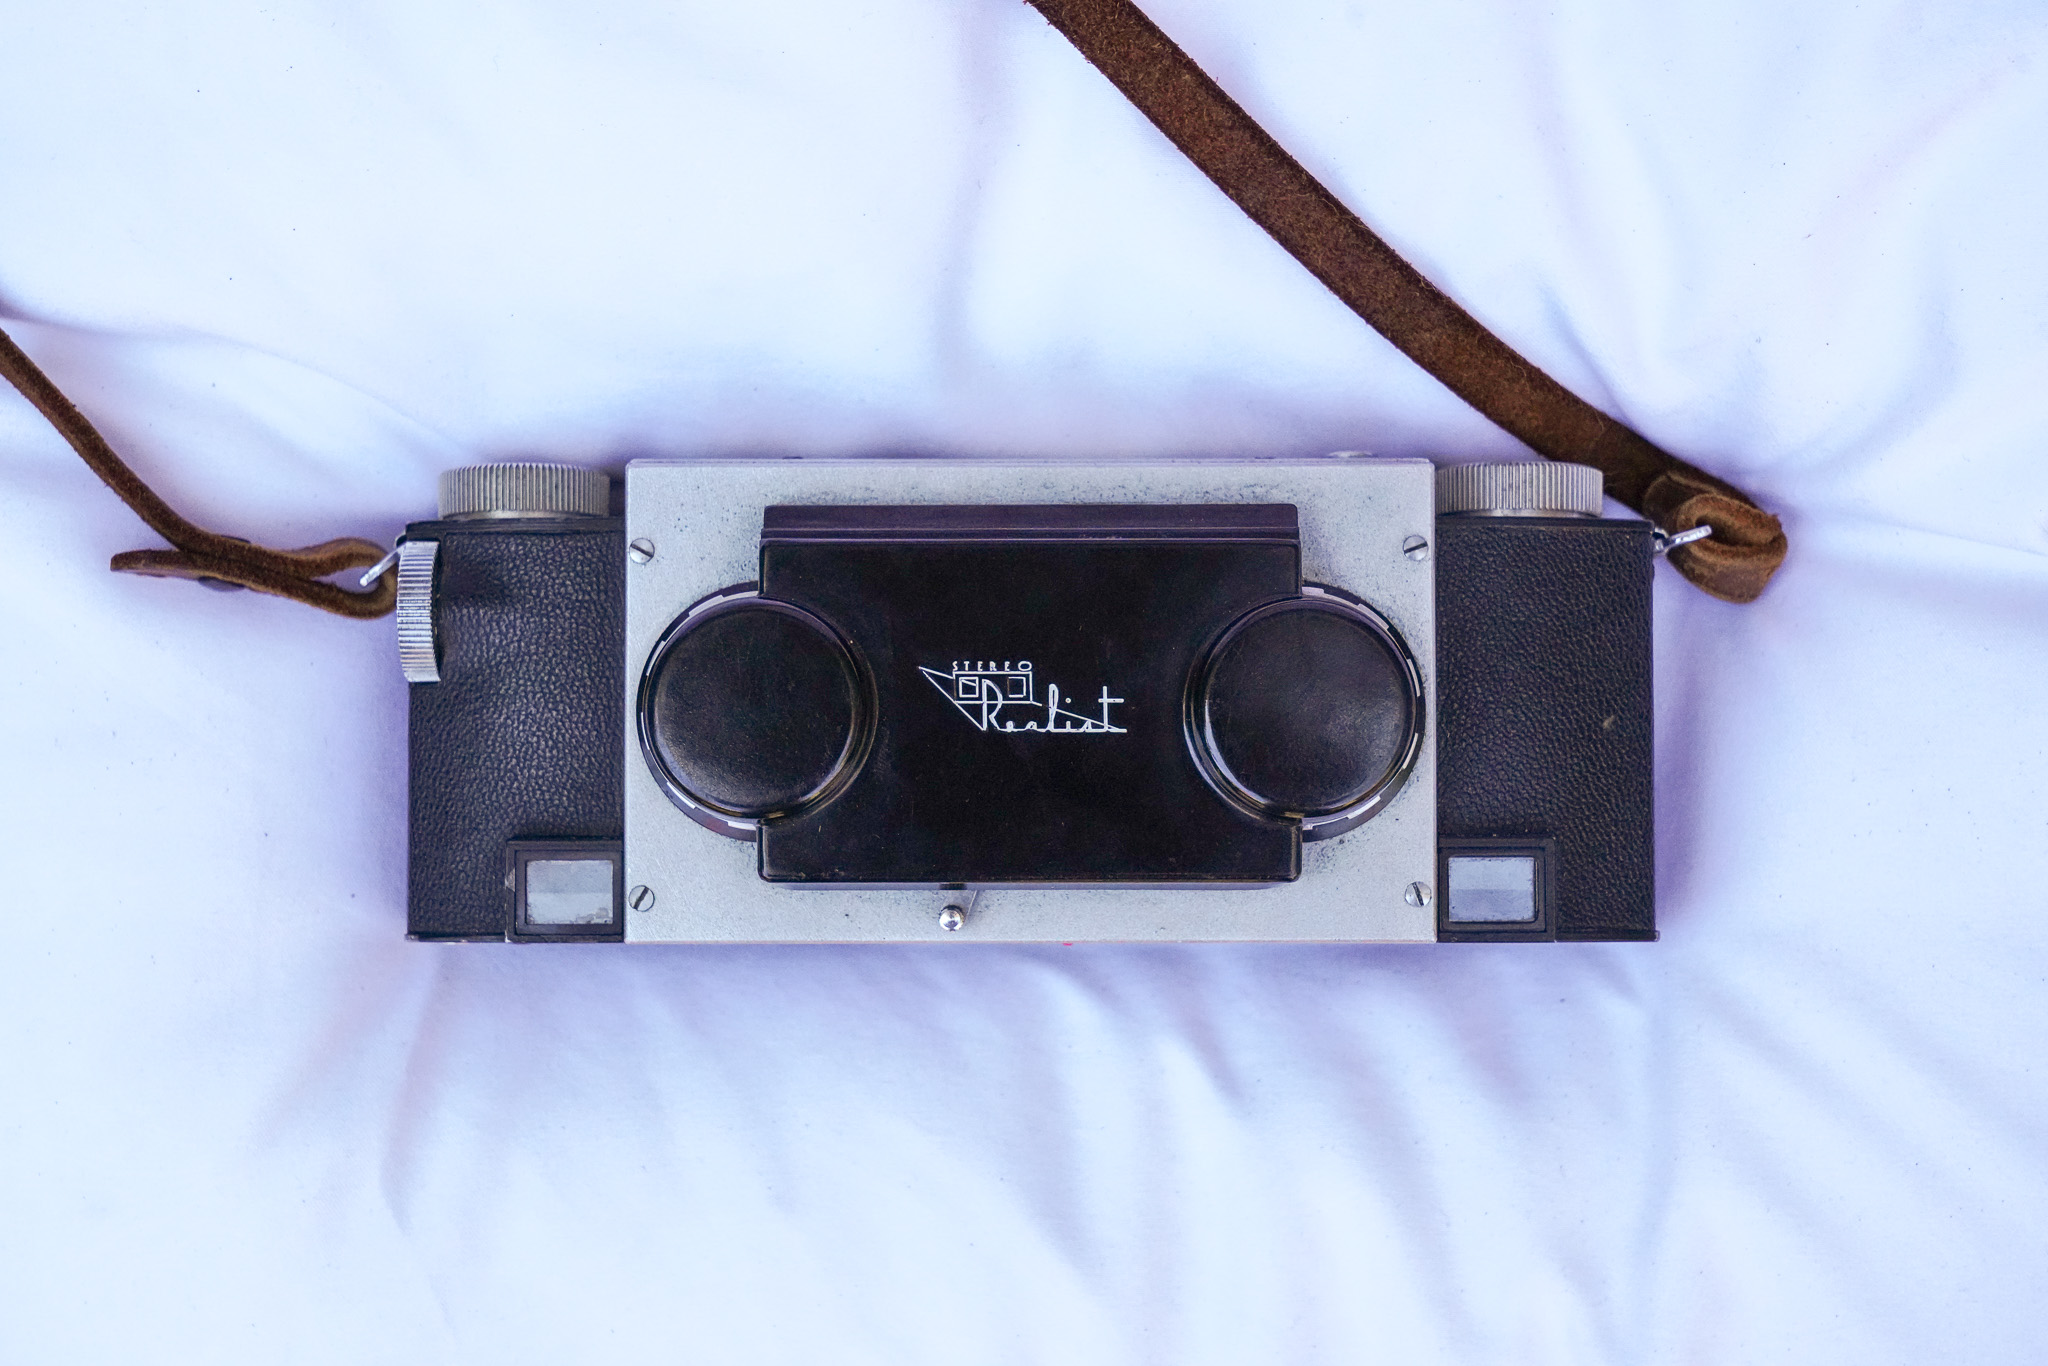
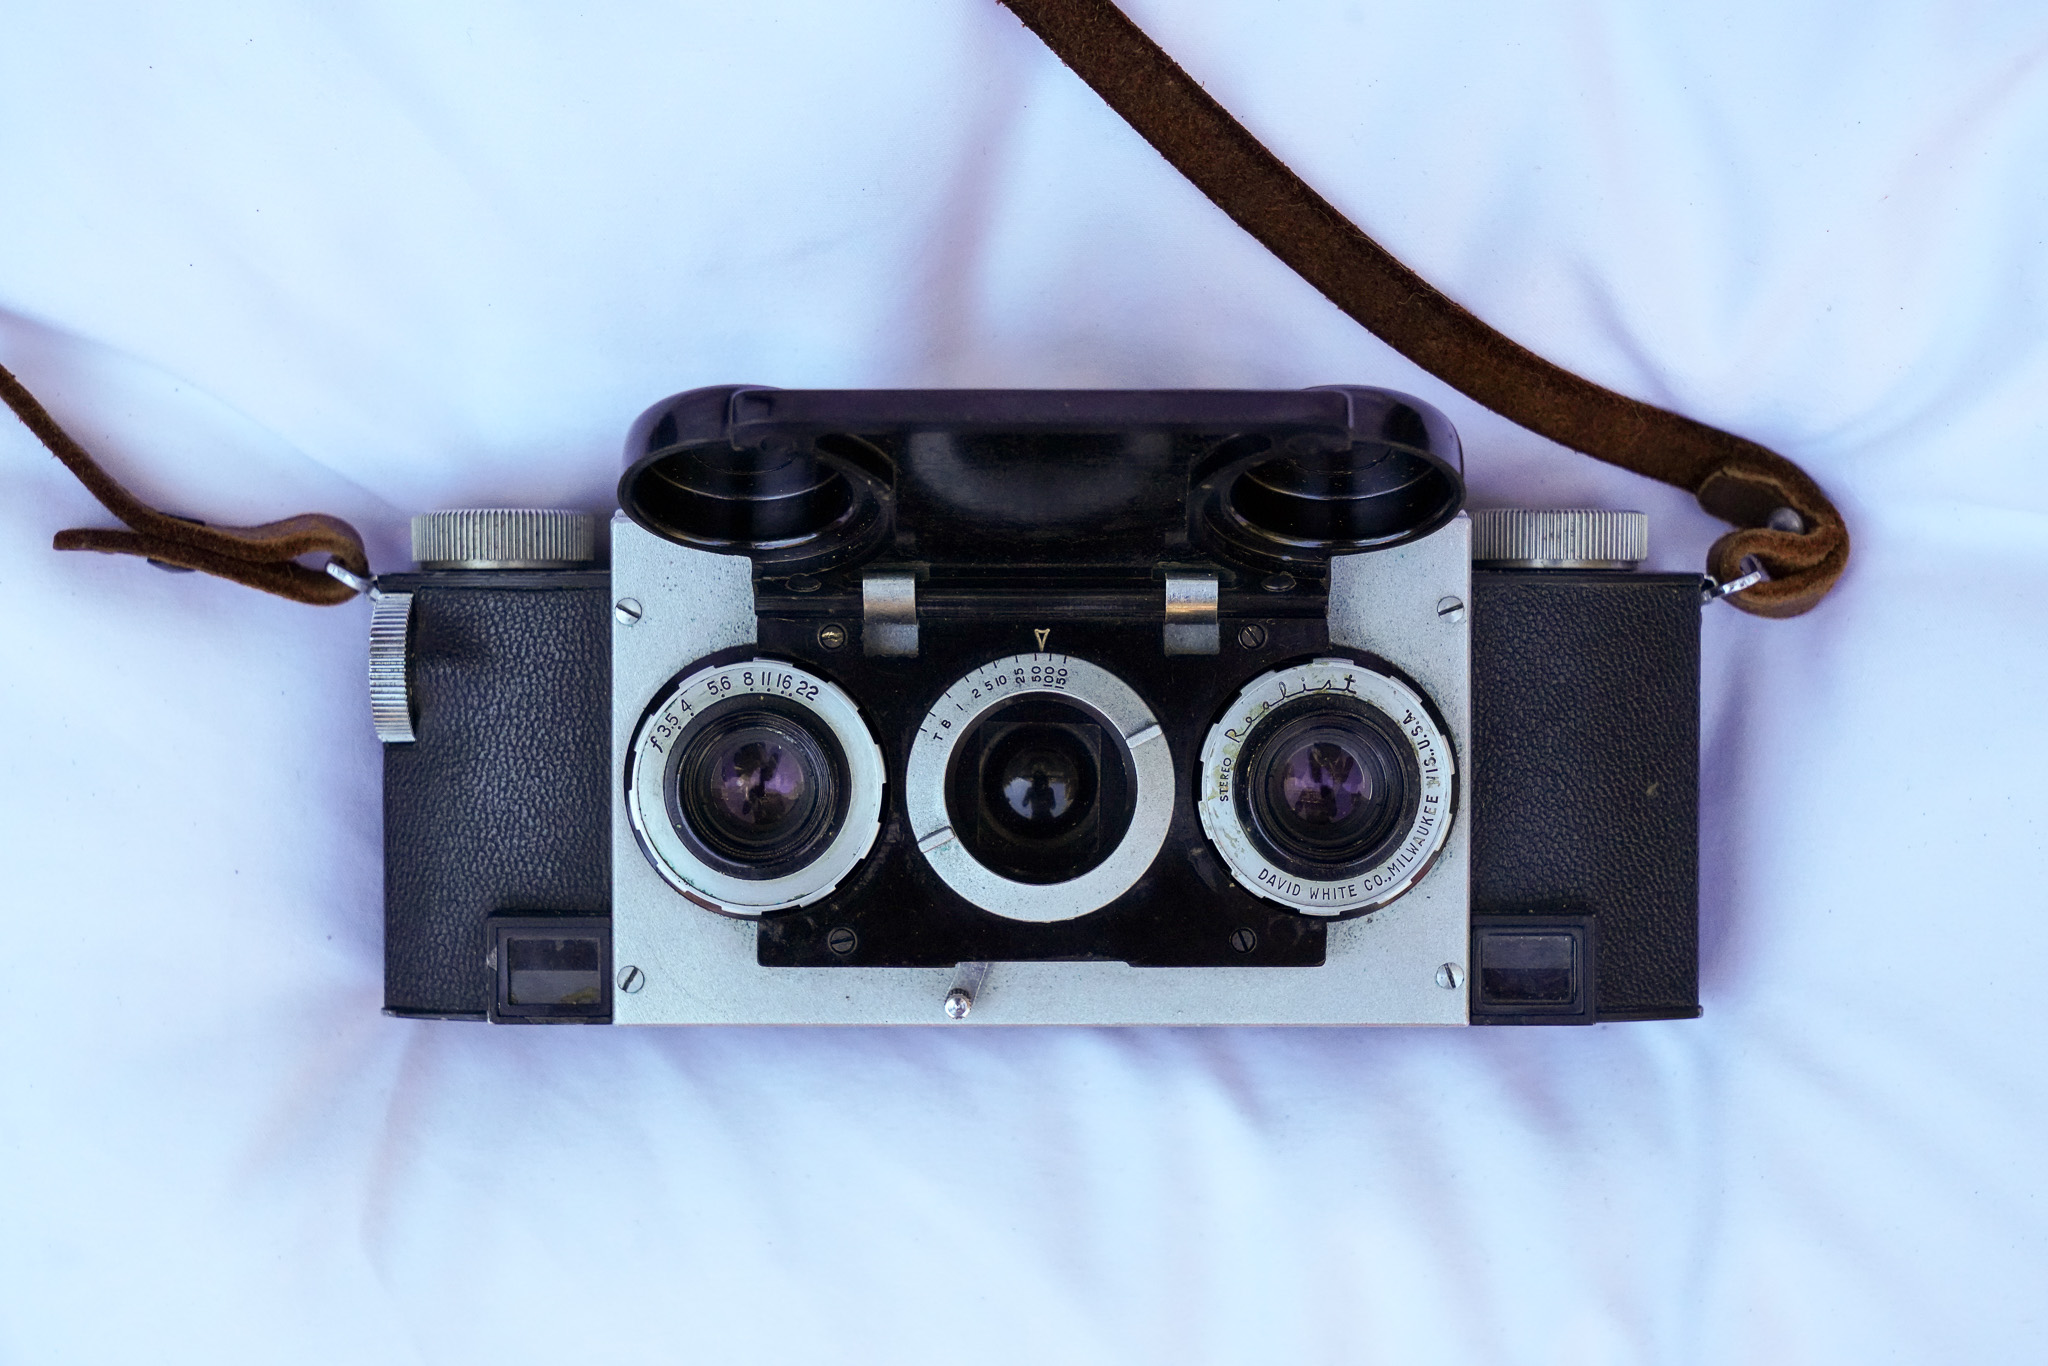
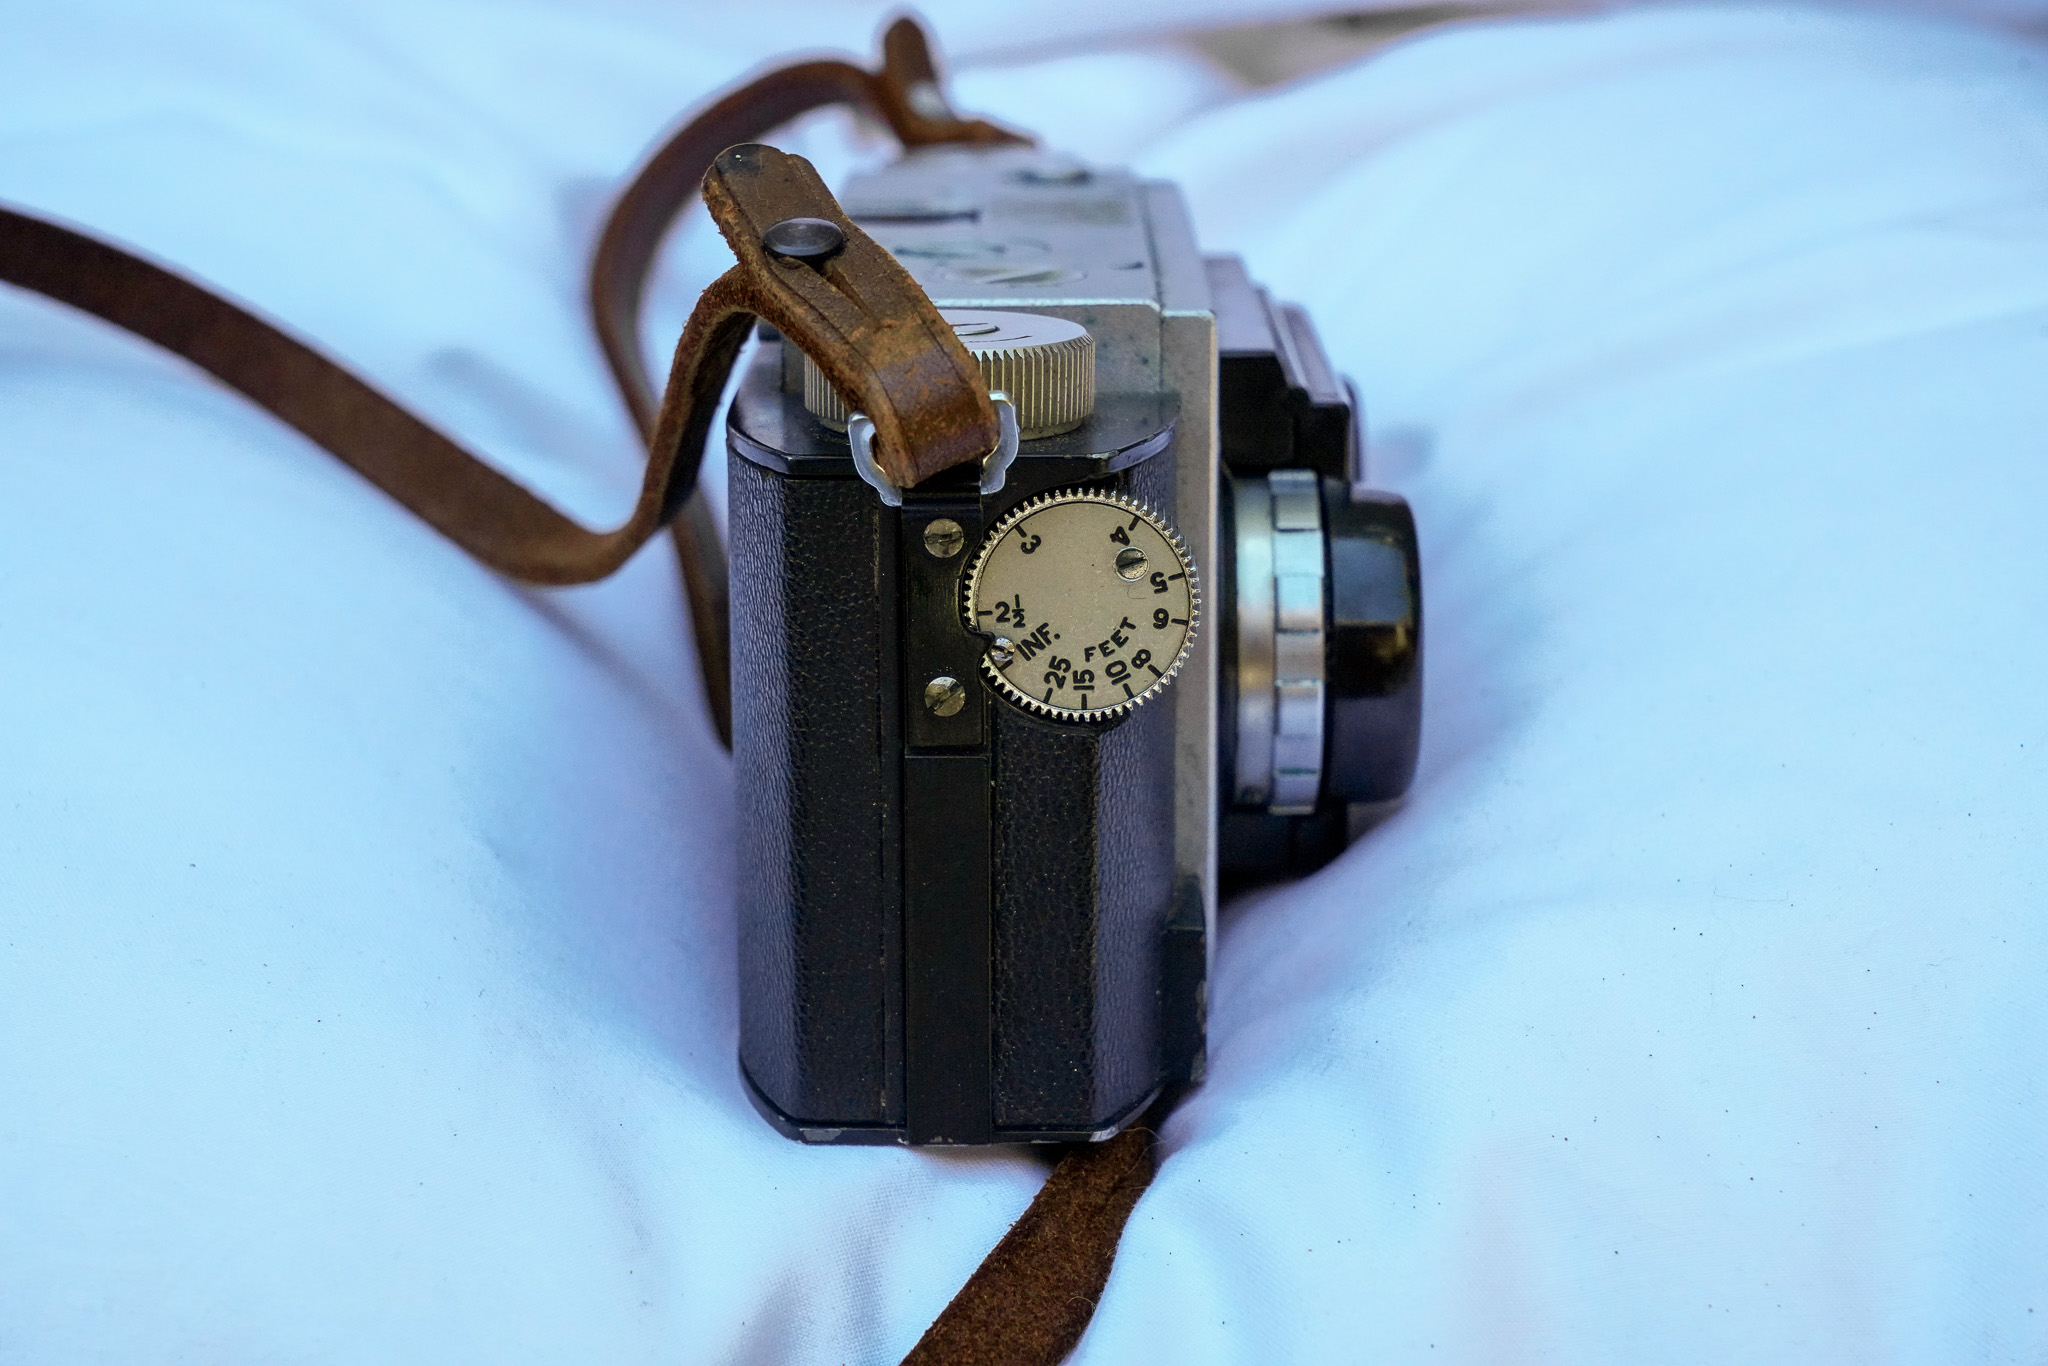
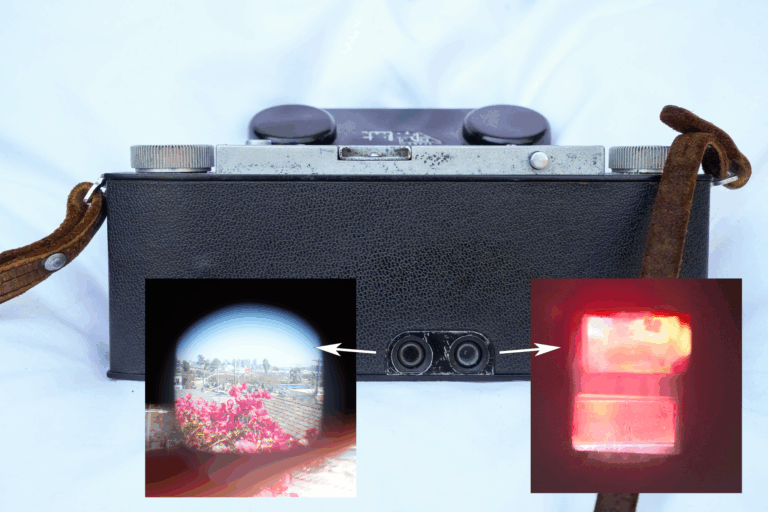
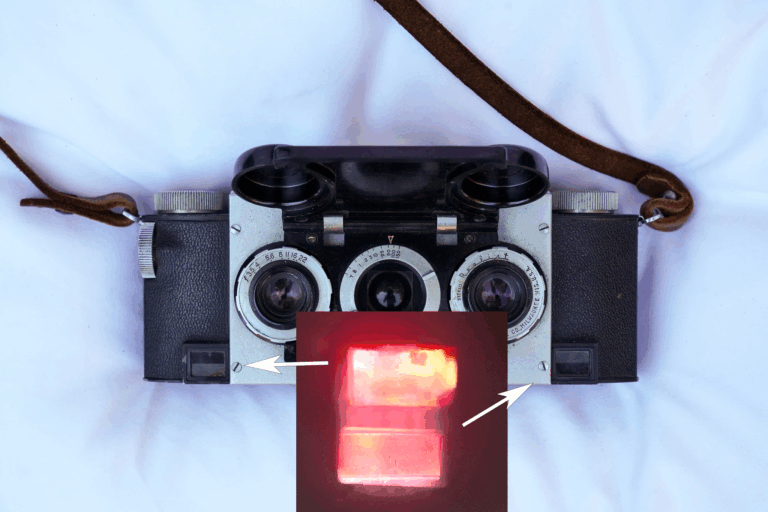
The camera’s design set it apart too. It featured dual 35mm lenses spaced approximately the same distance as human eyes, allowing it to record two slightly different perspectives on each shot, which is the magic behind its 3D effect. Another innovation was the centered viewfinder, which made composing stereo images more intuitive. This was a thoughtful design choice not found on all vintage 3D cameras.


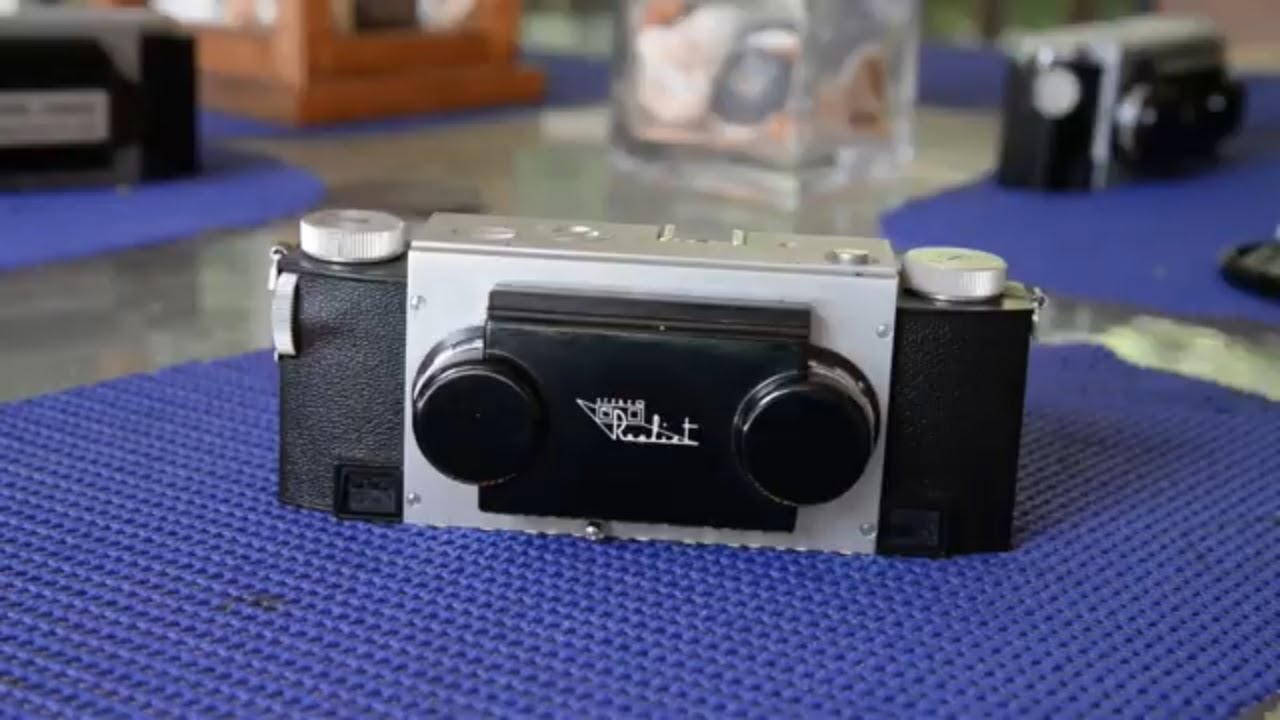
Over its production run from 1947 to 1971, several variations of the Stereo Realist were released, including different lens configurations and minor design refinements. My particular model, the Stereo Realist 3.5, dates to around 1950–1951 and represents the classic design that defined mid-century stereo photography (Dr. T’s serial number guide).


Although the widespread popularity of stereo photography faded by the 1960s as instant cameras and color prints took over, the Stereo Realist remains one of the most beloved vintage stereo cameras today. It holds an important place in photographic history, not just as a collector’s piece but as a reminder of the playful, curious spirit that drives people to see the world in new dimensions.

What are Stereoscopic photos?

Stereoscopic photos create a 3D effect by combining two images taken from slightly different angles, similar to how our eyes see depth. When viewed correctly, they appear to pop off the page. You can check out YouTube videos below for some examples and tips on how to see them:

Stereo Realist for Beginners

4 Videos

What Makes It Special

I’ve used dual lens reflex cameras like the Kodak Duaflex III before, but nothing quite like the 3D-effects of the Stereo Realist. Its design immediately stood out to me: a quirky, slightly industrial look that feels both retro and futuristic at the same time. The two lenses capture images spaced similarly to the distance between human eyes, allowing them to recreate a three-dimensional effect when viewed properly.


Another unexpected charm is how much this camera makes you slow down. You need to consider stability, distance, lighting, and how your composition will translate in 3D. Right away, I realized the importance of using a tripod or at least having very steady hands. Even when I thought I was completely still, the final images still turned out somewhat blurry (and taught me some humility in the process!).


To help answer all my newbie questions, from loading film to advancing properly, I picked up the Stereo Realist Manual by Willard D. Morgan & Henry M. Lester (Amazon, GoodReads). It’s an old publication from 1954, but it was exactly what I needed: clear, thorough, and surprisingly encouraging. I also found several helpful videos to supplement the book on things like loading film and what to know while shooting. But once I had the film loaded and I understood the basic skills to shoot this, I dove right into shooting.

Specs & Features

Stereo Realist Stereographic 3D Camera, Stereo Realist Manual book by Willard D. Morgan & Henry M. Lester, and glasses for viewing Stereoscopic photos

I have the Stereo Realist 3.5 model, with a serial number “A36443” stamped on the bottom. Based on resources like Dr. T’s 3D Realist site (link here), this serial range suggests my camera was produced around 1950–1951. Here’s a quick breakdown of some of its key specs and quirks:

  • Film type: 35mm film. I started with Fujifilm Superia 400 (color negative film) because it was inexpensive and forgiving. AKA, perfect for test rolls when you’re still figuring things out.
  • Lenses: Dual 35mm lenses spaced to mimic human eyesight, which is what creates that 3D effect.
  • Aperture & shutter: The aperture and shutter controls are manual. The shutter speed maxes out at 1/150 sec, which definitely pushes you to use a tripod or get creative with stable surfaces.
  • Viewfinder: Framing and focusing take some practice (and patience), but an added benefit of the Stereo Realist line is that there’s a viewfinder positioned directly in between the lenses. This center placement makes composing stereo images more intuitive, and it’s a thoughtful design choice that isn’t included on all stereoscopic cameras.
  • Build: It’s a heavy, solid piece of gear, which feels nice when trekking it around to shoot, but it’s still tricky to keep the camera still when snapping the shutter, without support from a tripod.
  • Accessories: While there are flash attachments and other accessories made for this camera (like the David White flash), I don’t have any yet. However, I’m definitely curious about adding one in the future, especially for lowlight shooting.

Even in my early experiments, it became clear that this isn’t a camera for casual snapshots. It asks you to slow down and think carefully about each shot, and I love that about it.

My Experience & Testing Process

I discovered my Stereo Realist on a spontaneous stop at a consignment shop in San Diego. It was in pretty good shape with no major repairs needed, although it could definitely use a deep cleaning to help with clarity and overall performance.


I decided to load it up with Fujifilm Superia 400 (Amazon), an affordable and forgiving color negative film. I picked this film intentionally since I wasn’t even sure if the camera worked yet, and I wanted something budget-friendly for early experiments.


Right away, I learned that using the Stereo Realist isn’t just about clicking the shutter. The first big surprise? How much practice I still need! Many of my first shots turned out blurry or underexposed because I didn’t fully account for the slower shutter speed (maxing out at 1/150 sec) and the weight of the camera. Even when I felt completely steady, the final images revealed plenty of unintended movement.
I quickly realized that a tripod (or at least a very stable surface) is almost essential, and I’ll probably use a tripod + shutter release cable in the future. I’m also going to explore flash attachments to help with low-light situations.


One funny realization from reviewing my first batch of photos is that I may have been standing too close to many of my subjects. When viewing stereo images, proper depth separation is critical for that 3D pop, and my early shots lacked that separation because I was too close. Now, I make a conscious effort to step back and consider not just the composition in 2D, but also how it will translate dimensionally.


I tested the camera in three very different environments:

  • My backyard on a sunny day with my dog and my garden.
  • A local plant nursery on a cloudy afternoon.
  • A cozy pub with friends after sunset.

Many of the photos turned out grainy and soft (partly from my novice stereoscopic skills and partly from needing a good camera cleaning), but it was exciting to see the potential. With more practice, better technique, and a thorough cleaning, I can already imagine how much more vibrant and immersive future rolls will be.

Sample Photos

Results & Post-Shooting Process

These days, I always develop my film at my local film shop to save time and keep things simple. After that, I scan and edit everything at home using my Epson photo scanner.


Most traditional stereoscopic photographers shoot on slide film (color reversal film) since it’s ideal for creating stereo slides to view through a classic 3D viewer. I opted to start with color negative film instead, since it’s cheaper, more forgiving, and more familiar for me to work with in post-processing.


Scanning stereo images is a bit quirky. The negatives aren’t laid out sequentially one-immedaitely-after-another the way you might expect with a normal film camera, so you have to match each stereo pair manually before combining them in an editor like Photoshop. Also, when stitching them together in post, you need to flip the images so the image that was taken with the right lens goes on the left, and vice versa. It takes a little extra patience, but not too much of a hassle, and it’s pretty rewarding to see them come together.


Screenshot of SilverFast photo scanning software, showing how the photos are scanned into the computer not in a synchronous order.

I used the viewing glasses that came with my Stereo Realist Manual to help preview the images, which was surprisingly helpful. However, if you’re new to viewing stereo images, I recommend practicing the same way you might have learned to see “magic eye” pictures, because the same eye skills apply! I grew up with magic eye books, so I found it surprisingly intuitive to adjust to these images. I haven’t tried viewing them in VR or in modern 3D formats yet, but I’m curious to experiment with this in the future. Check out the youtube videos linked in the “What are stereoscopic photos” section above, if you need help learning how to view these in 3D.

Frequently Asked Questions

How do I load film into a Stereo Realist (and how do I unload it when I’m done)?

Loading film into a Stereo Realist can feel intimidating at first, but it’s pretty straightforward once you get the hang of it. There’s a great YouTube video tutorial here that walks you through the whole process step by step. It’s very beginner-friendly, and you can skip ahead to the parts you need if you don’t want to watch the entire video.

How do I take 3D/stereo photos with this camera?

Shooting with a Stereo Realist is all about slowing down and thinking in layers. You need to consider your subject’s distance, your background, and how everything will translate in 3D. The same YouTube creator has another helpful video here (start around the 10-minute mark) that shows how to actually shoot with the Stereo Realist in a very accessible way.

Also, the images below show the two viewfinders. The left viewfinder shows the full frame view of the area you’re shooting, and the right viewfinder shows a split view of the two images, so that you can align the shot to the proper depth.

Backside of Stereo Realist Stereoscopic 3D Camera, With preview images of the different viewfinders. Left viewfinder is a full frame of what you're capturing, and right viewfinder is the split view between the two lenses.
Frontside of Stereo Realist Stereoscopic 3D Camera, Indicating where / how the left viewfinder shows the split-view image alignment.

What kind of film does the Stereo Realist use? What is the best 35mm film to choose?

The Stereo Realist uses standard 35mm film, which is one of its biggest advantages compared to older or more specialized stereo cameras. Traditionally, most stereo photographers used color reversal (slide) film because it’s ideal for creating slides to view through 3D viewers. However, you can also use color negative film (like I did for my first roll) if you’re more comfortable editing and scanning negatives. The “best” film really depends on your goals and what kind of final look you want.

Can I use modern 35mm film in a Stereo Realist?

Yes! One of the great things about the Stereo Realist is that it accepts standard 35mm film that’s still widely available today. You don’t need any special cartridges or modifications. Just keep in mind that film stocks differ in color profiles, grain, and ISO speeds, so choose one that matches the look and conditions you’re after.

Helpful Videos for Stereo Realist Beginners

Stereo Realist for Beginners

2 Videos

Final Thoughts

The Stereo Realist isn’t a camera I’d reach for every day, but it’s such a fun, quirky tool to have in my collection. I’d mostly recommend it to collectors, film photography fanatics, or anyone who loves experimenting with unusual formats and techniques. It’s not exactly practical for modern use, but more of a creative playground and a beautiful way to learn about the origins of 3D photography. For me, photography is a creative outlet, and I’m always curious to explore new (or very old) ways to tell visual stories.

While I don’t see myself using it regularly, I love the idea of bringing it out for special projects, or whenever I want to add a little extra magic to an otherwise ordinary scene. It’s one of those cameras that feels more like a conversation starter than a workhorse, and sometimes, that’s exactly what keeps the creative spark alive.

Warm regards,
Lexi

Resources & Further Reading

If you’re interested in learning more about stereoscopic photography or the Stereo Realist, here are a few resources I found super helpful:

Leave a Comment

Your email address will not be published. Required fields are marked *