All photos in this post were shot across two test rolls through the Yashica Electro 35, around Ocean Beach and Pacific Beach, San Diego.
The Backstory
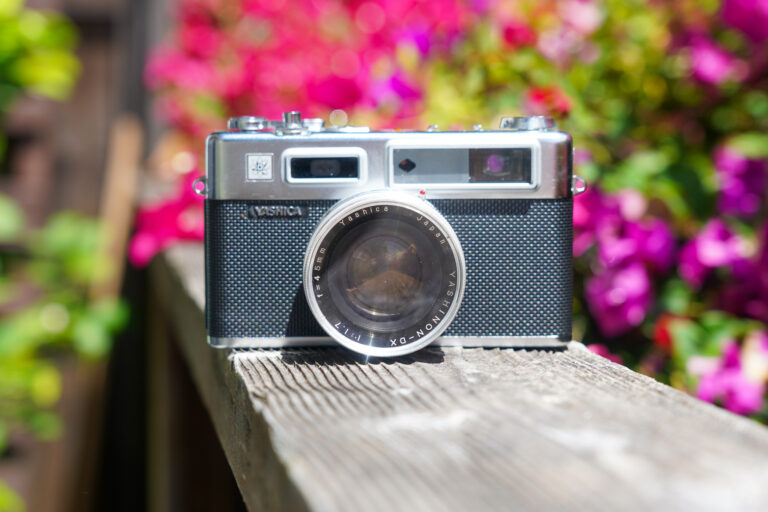
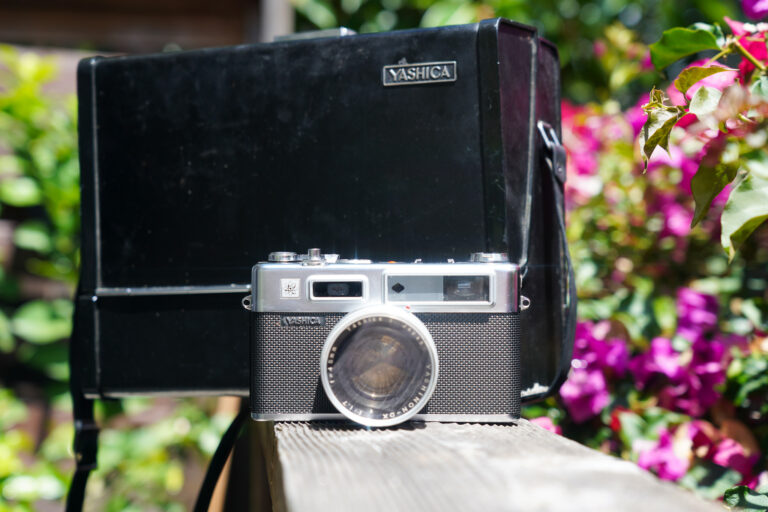
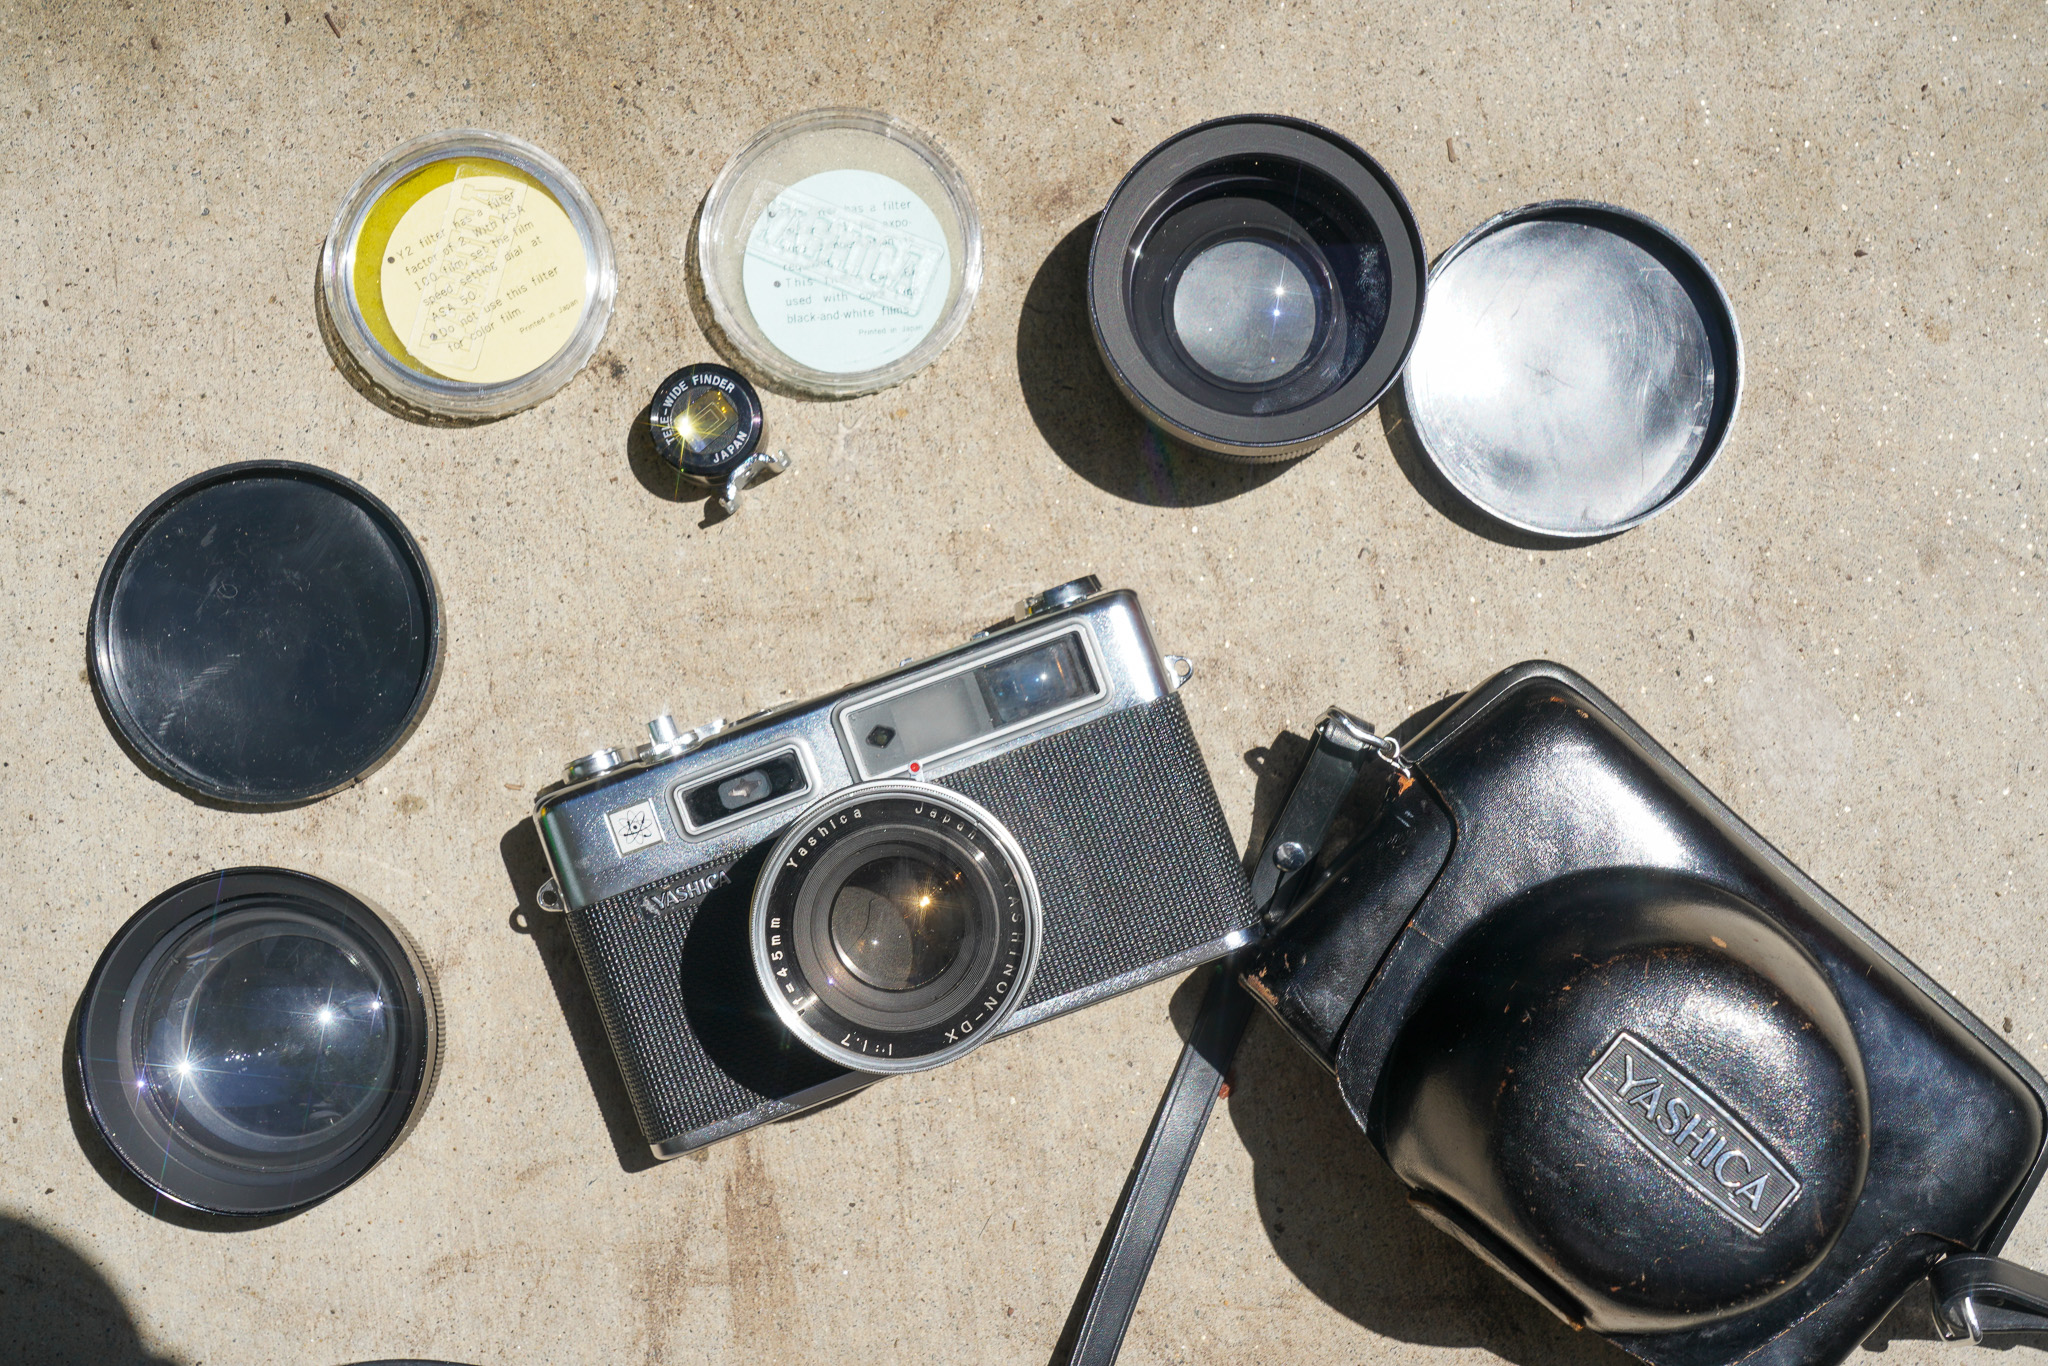
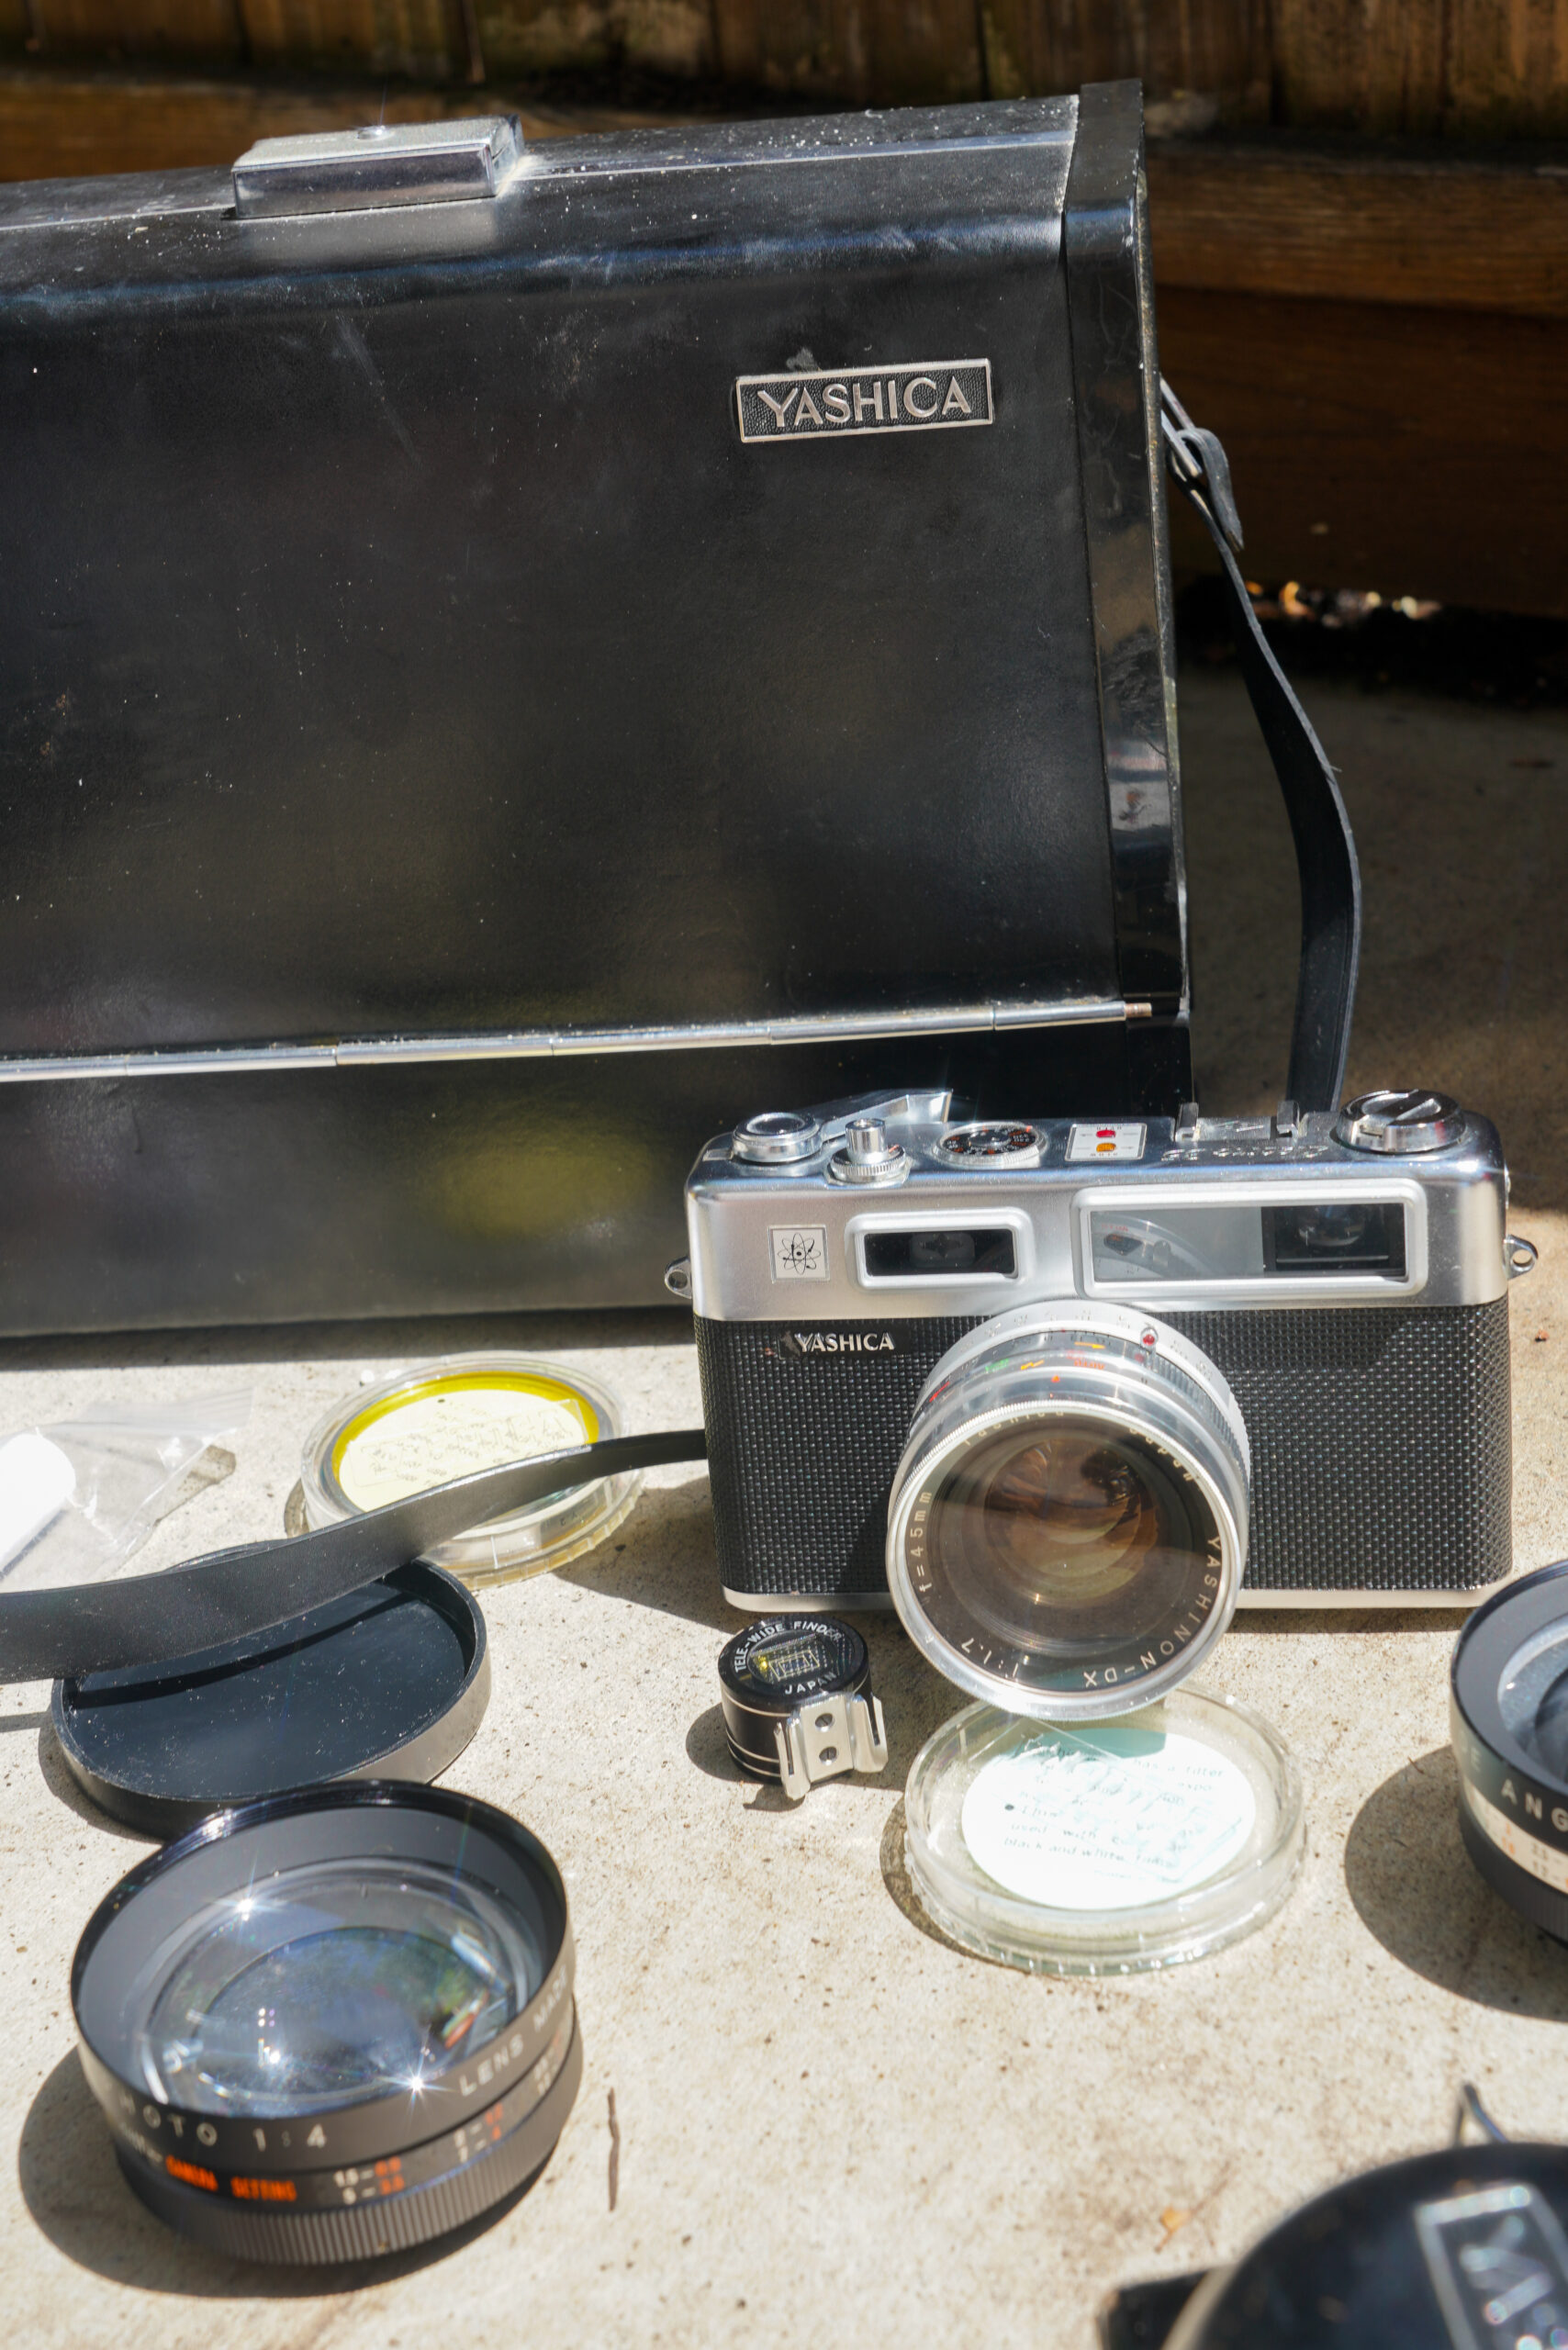
My Uncle Jim picked this up his Yashica Electro 35 in the 1960’s while he was on military tour in Vietnam. It was made in Japan, one of the very first Yashica Electro 35s off the line before they moved production to Hong Kong , and he took such good care of it that it still looks and works like new. He passed it down to me with the original case, a telephoto attachment, a wide angle attachment, and a tripod.
I genuinely could not believe it. I knew I had to figure out how to shoot it. What follows is my first impressions after getting it working and running two test rolls through it.
So what actually is a Yashica Electro 35?
The Yashica Electro 35 came out in 1966 and was kind of a big deal for its time. It was one of the first cameras ever to have a fully electronic shutter, which means the camera’s built-in “Electronic Brain” figures out the correct shutter speed for you based on the light. You pick your aperture, you focus, you shoot. That’s the whole job.
Photographers call this aperture-priority shooting. It’s genuinely beginner-friendly while still giving you real creative control, especially over how much of your scene is in focus.
Here are the specs on the original 1966 to 1968 model:
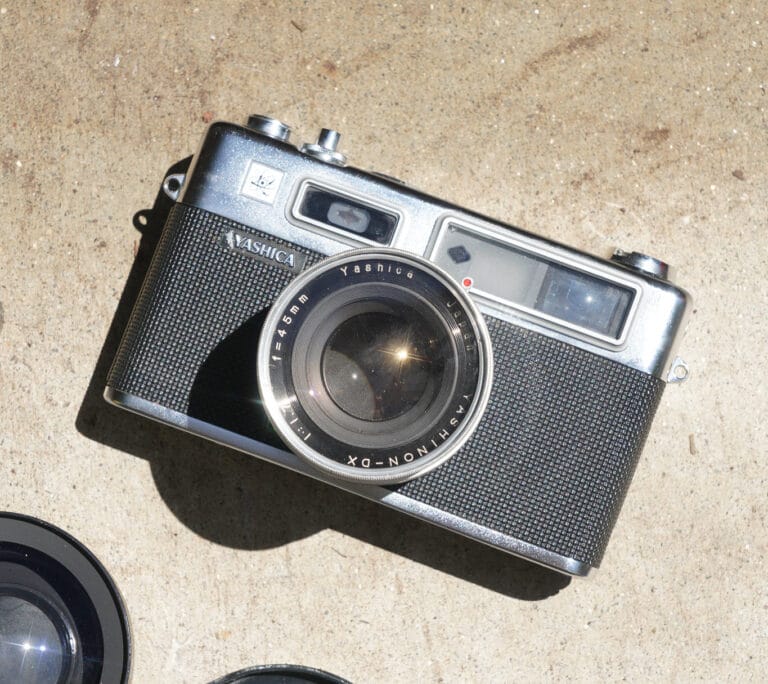
Lens: Fixed 35mm f/1.7 Yashinon DX (6 elements in 4 groups)
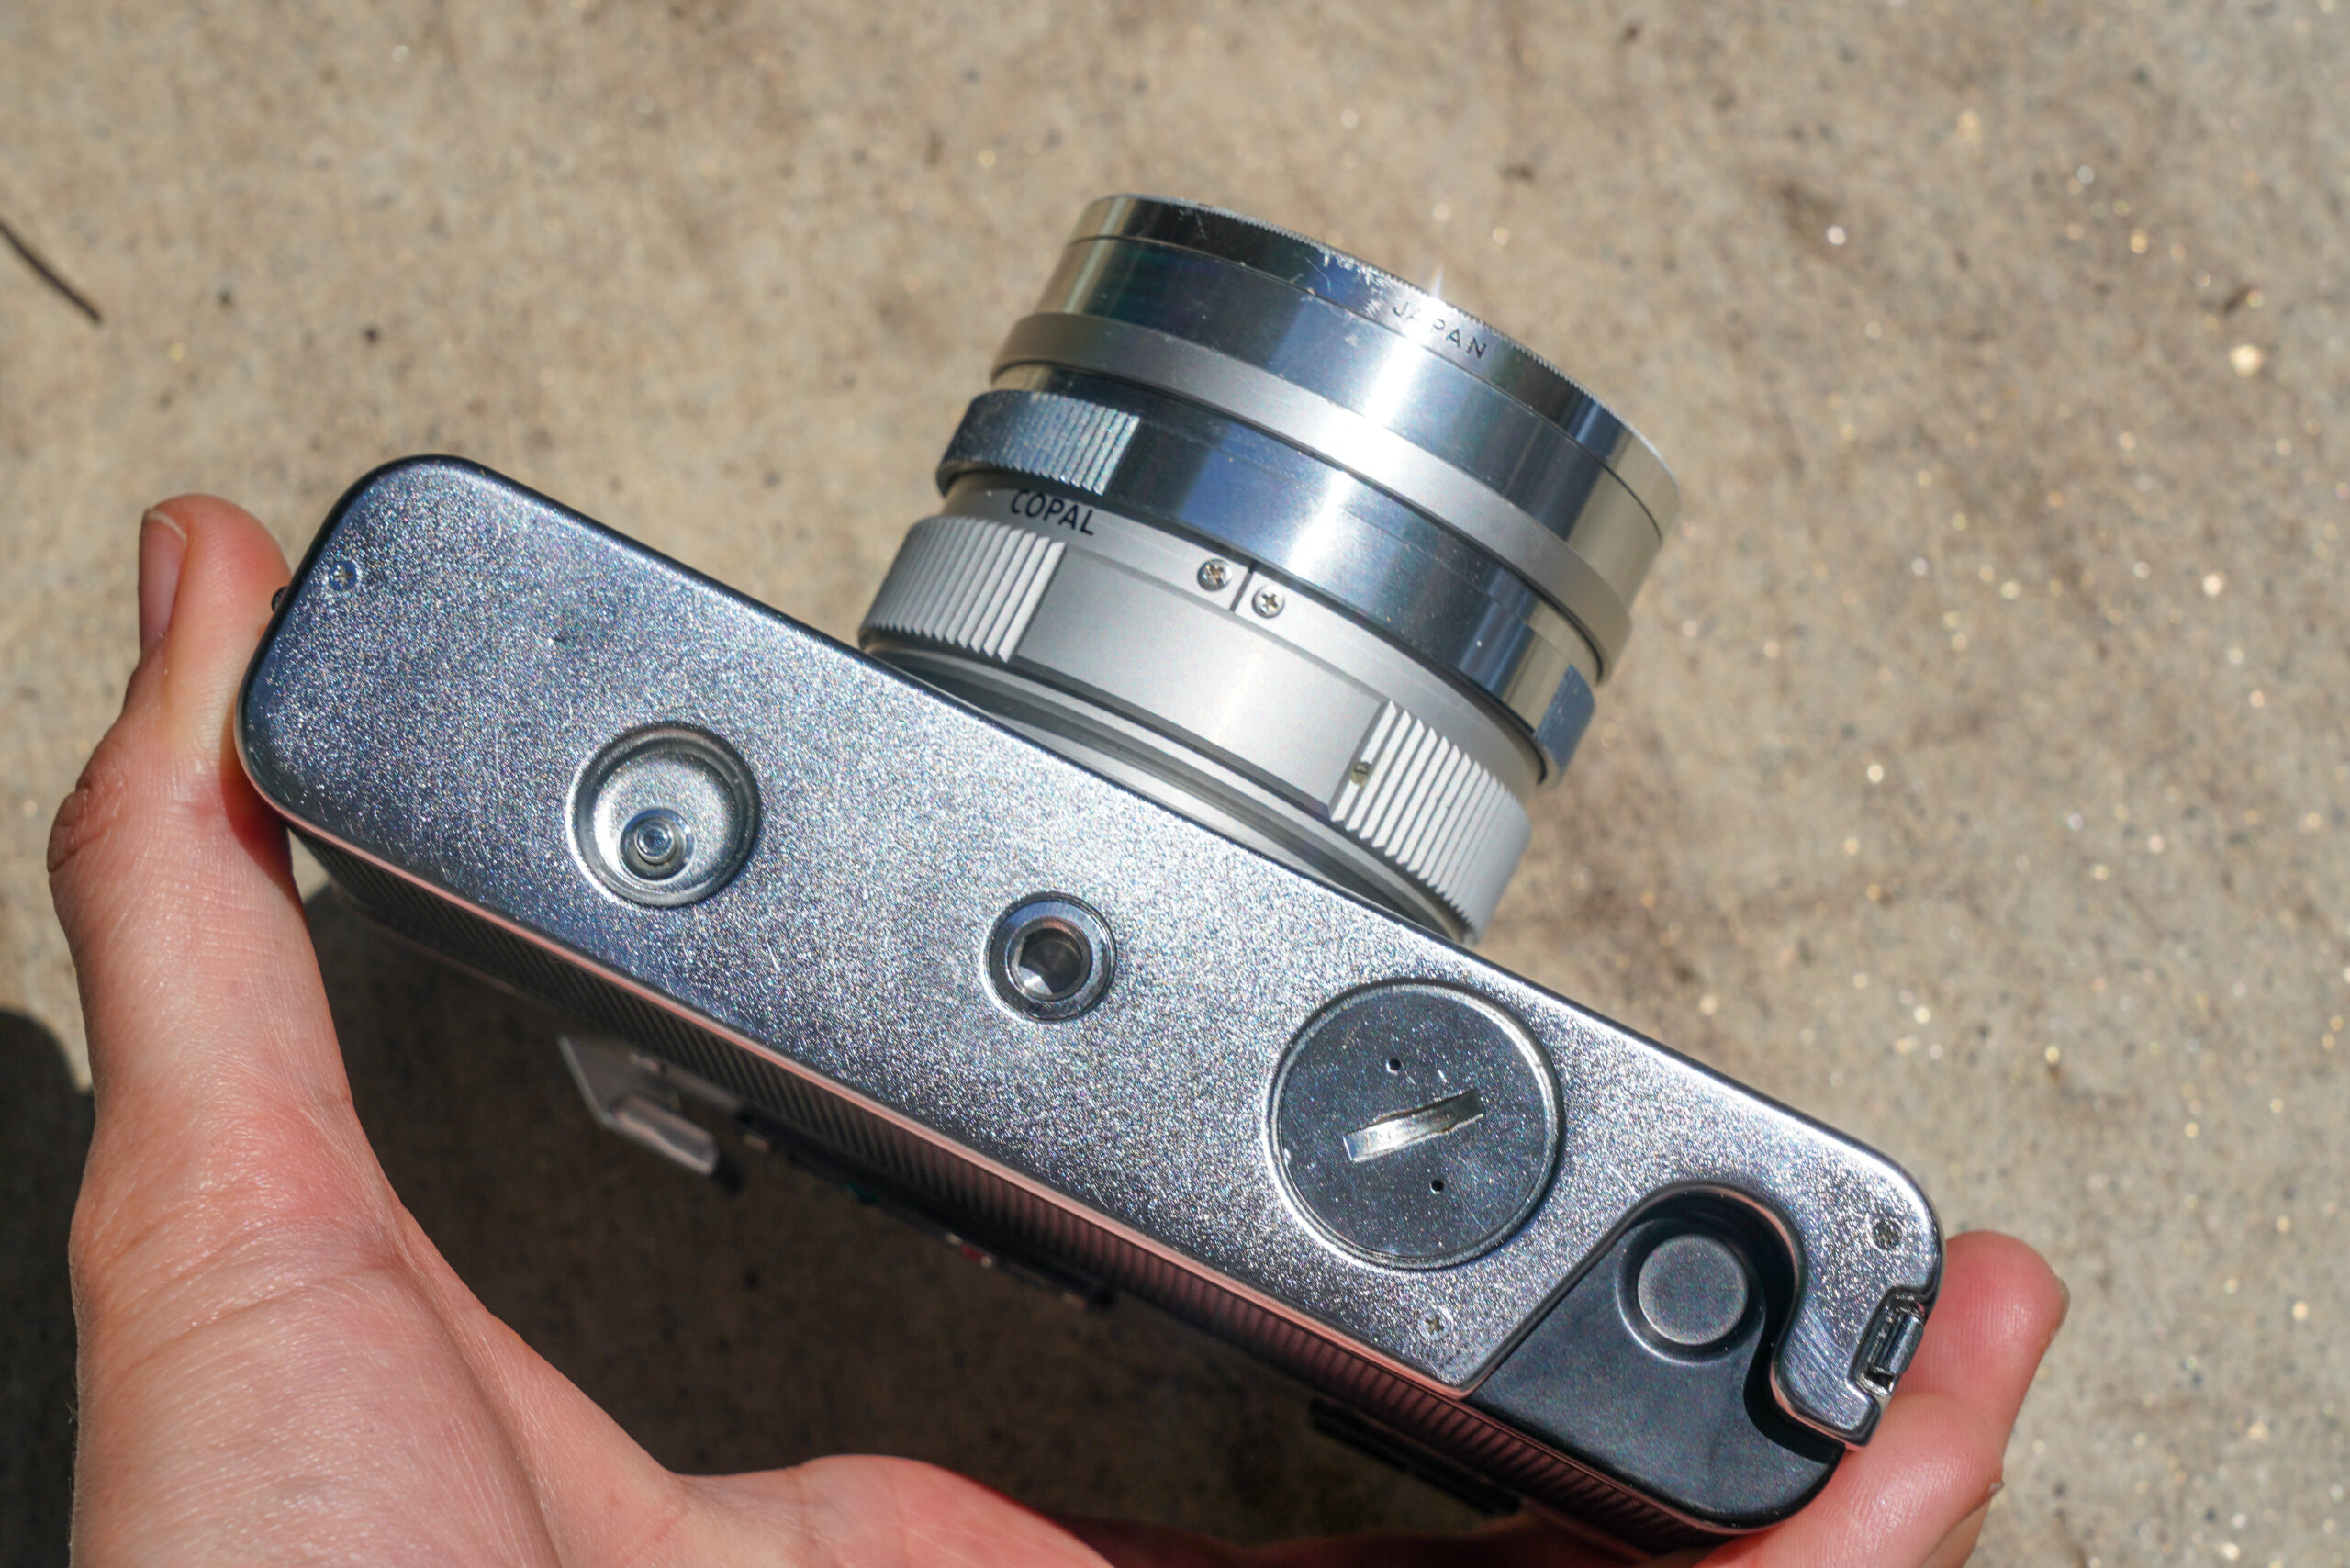
Shutter: Stepless electronic Copal leaf shutter, 30 seconds to 1/500s
Exposure system: Aperture-priority auto-exposure
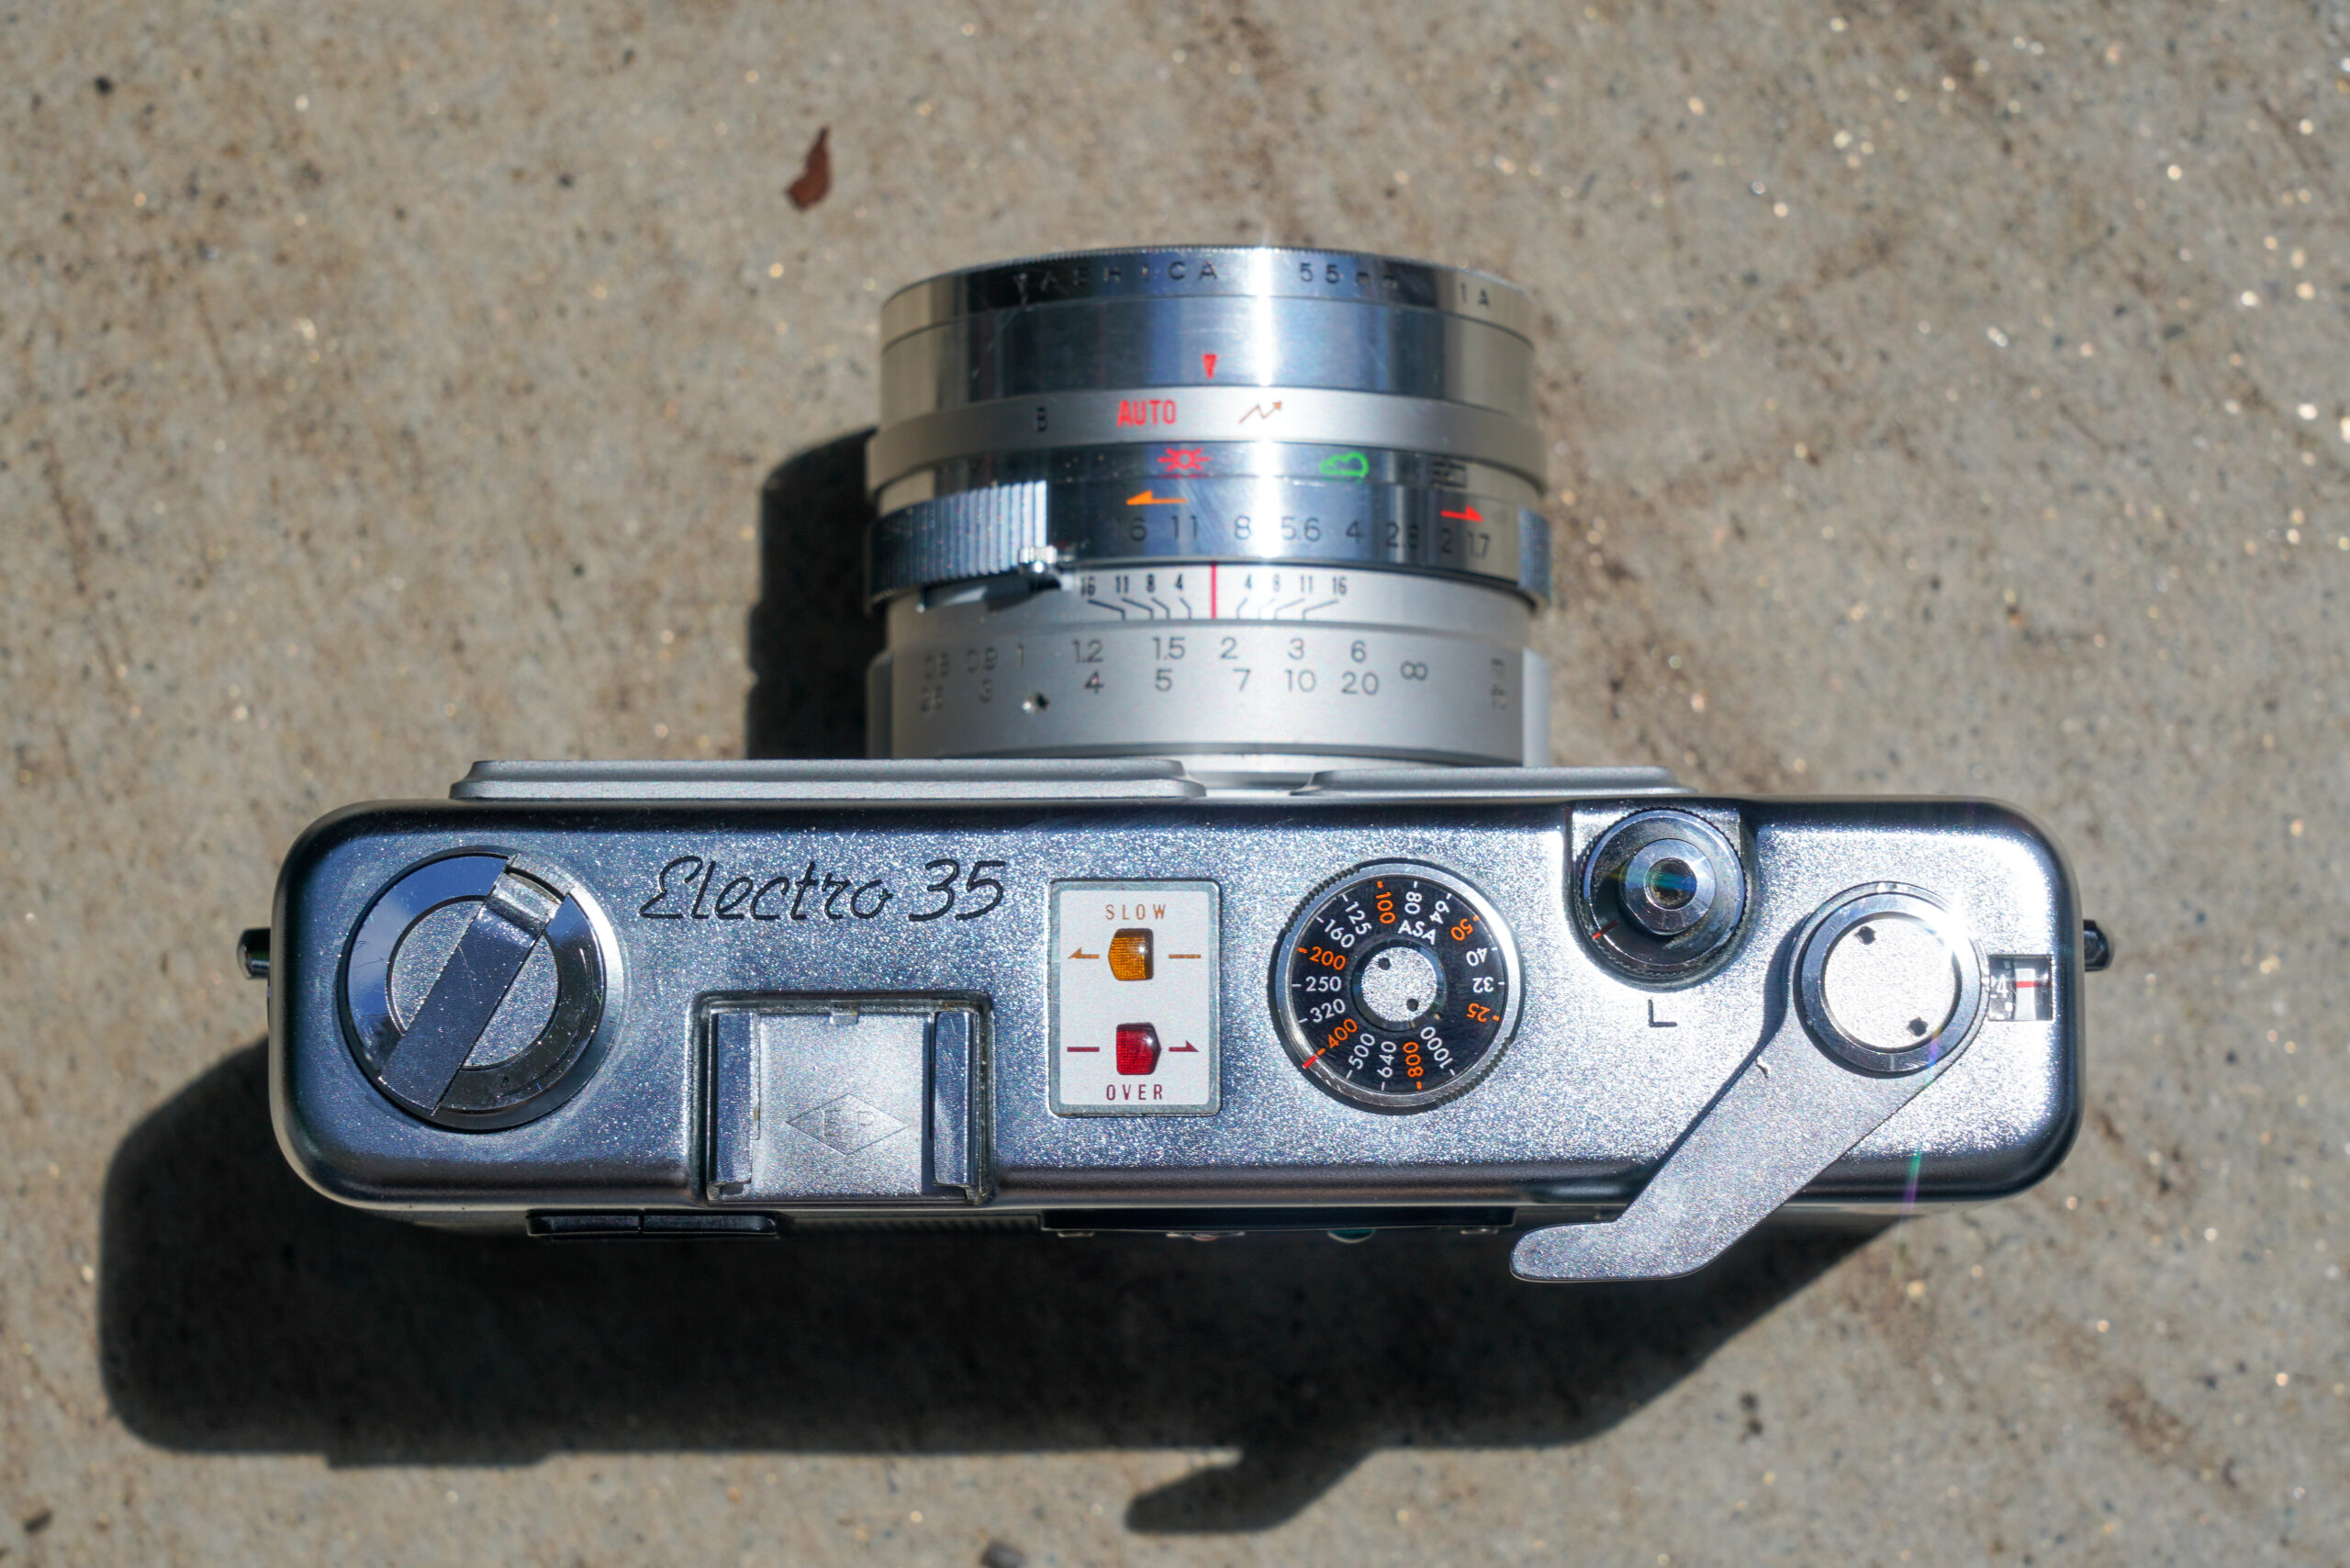
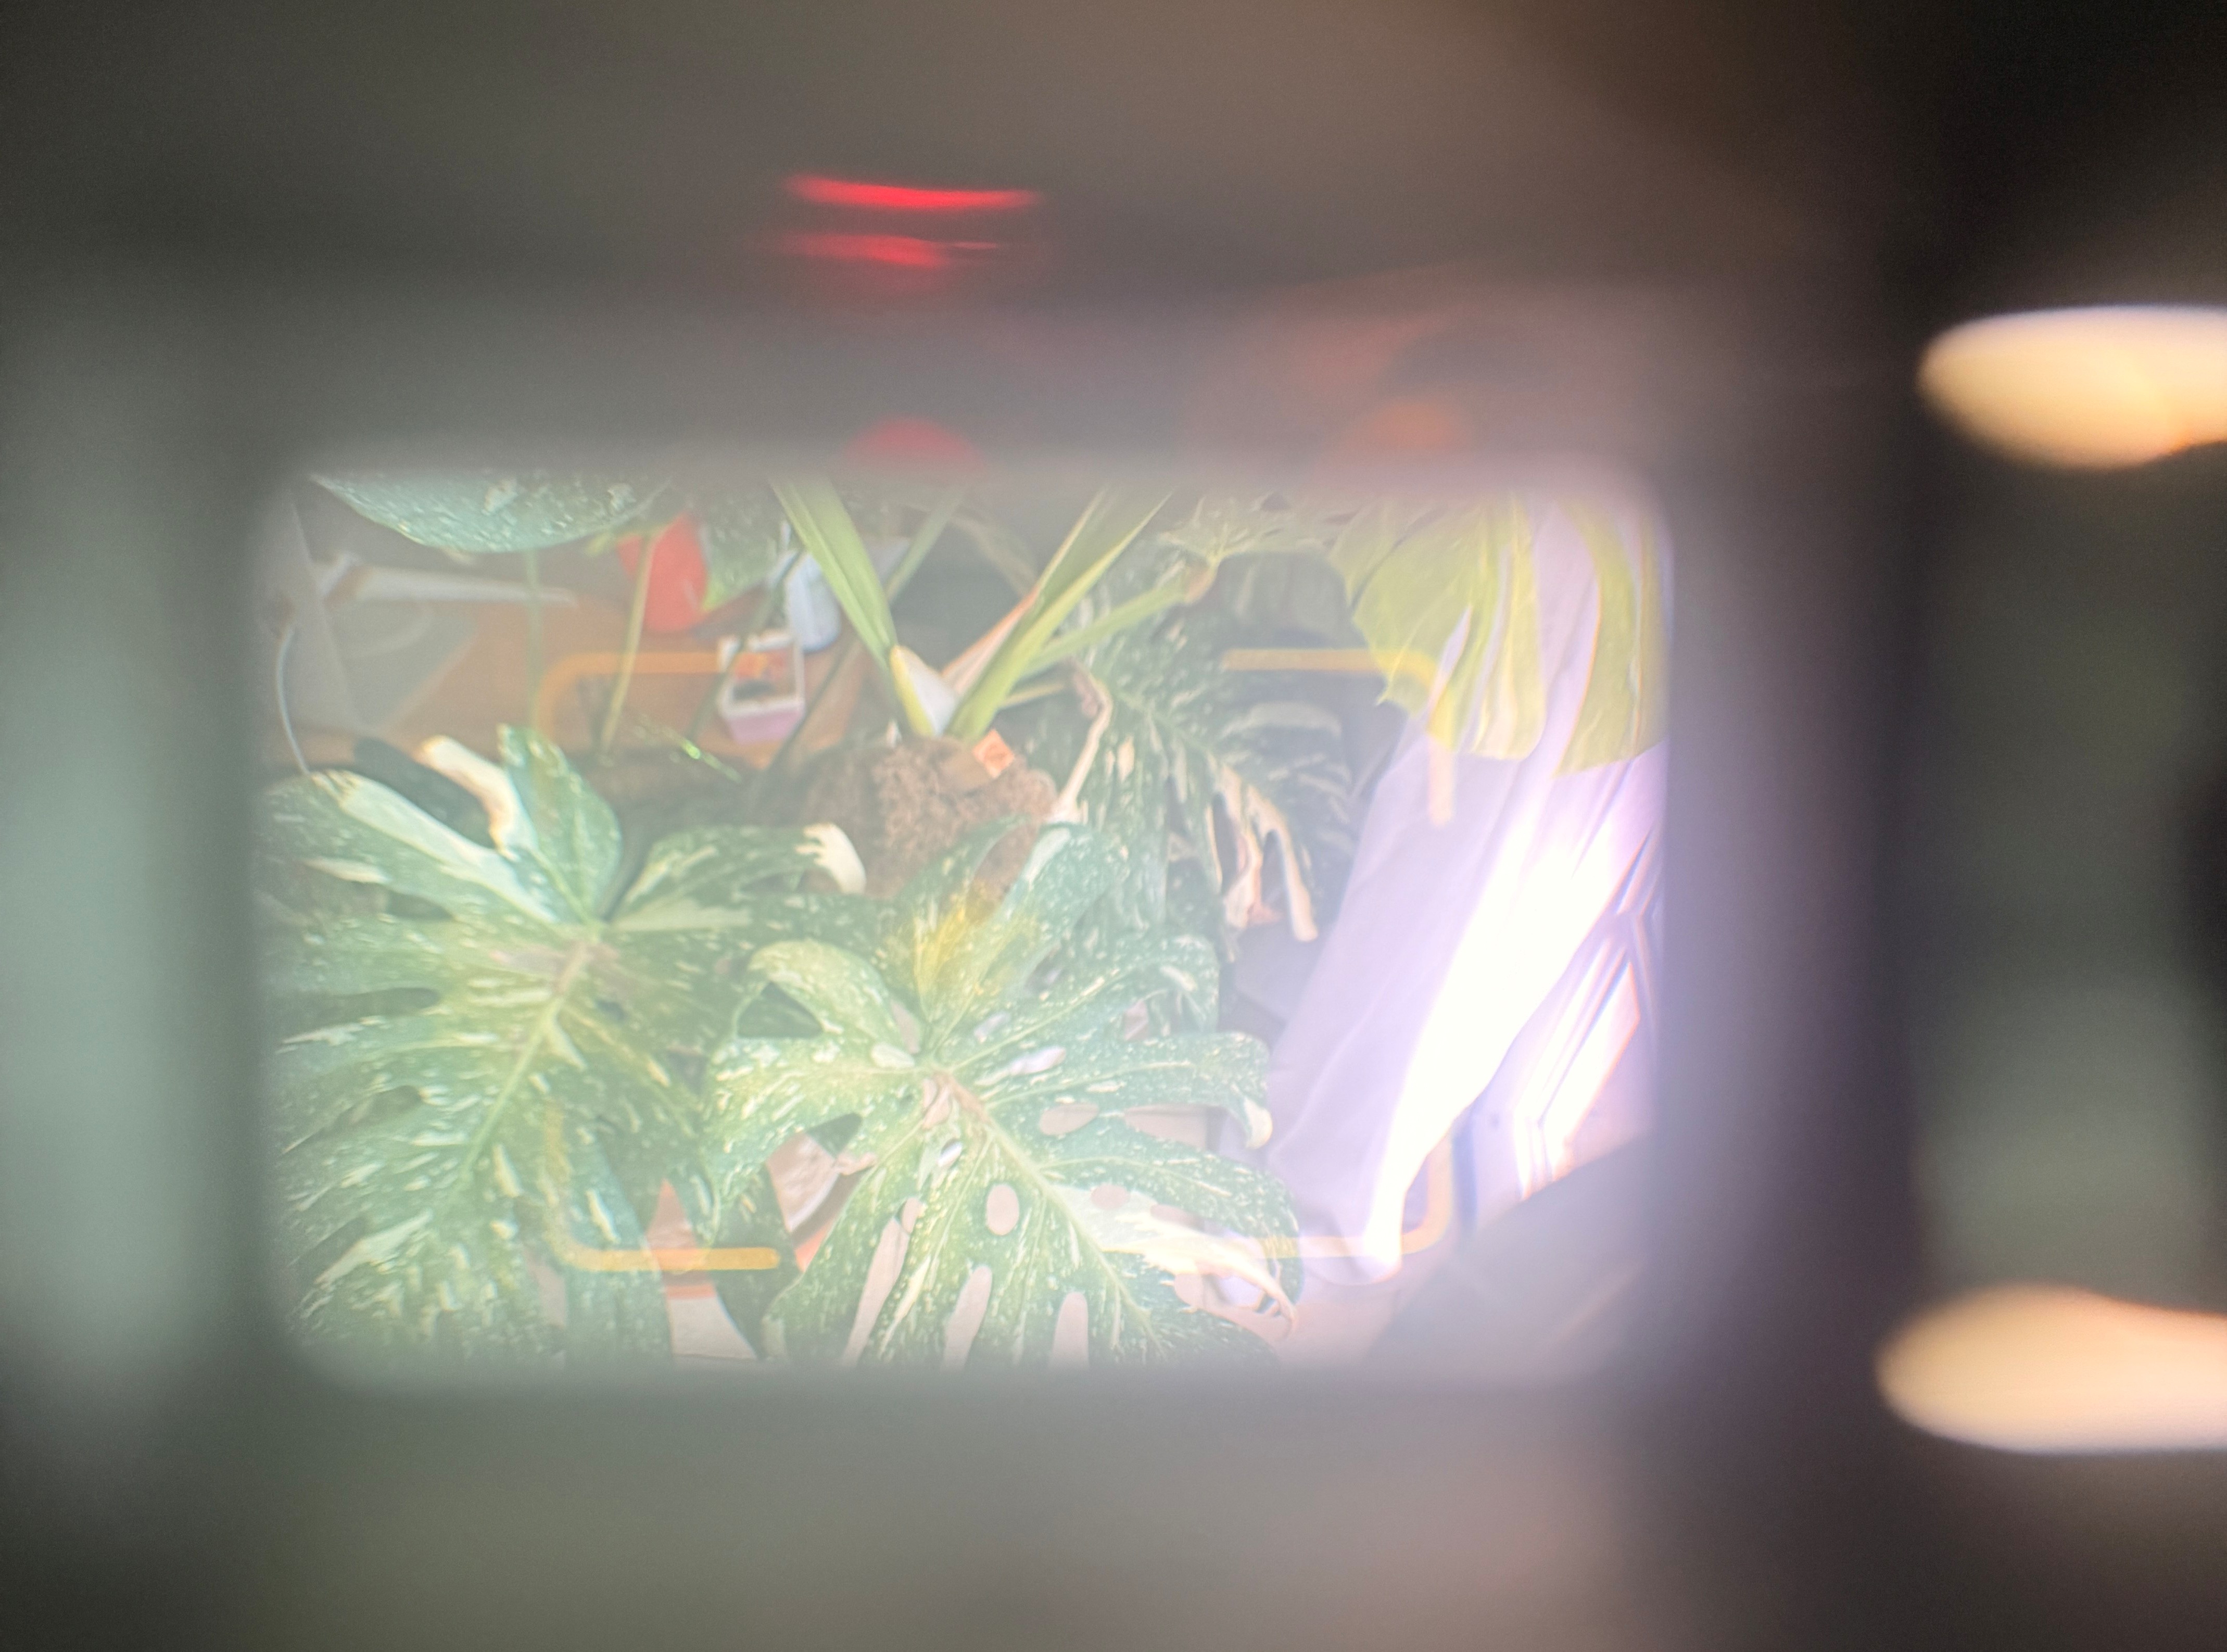
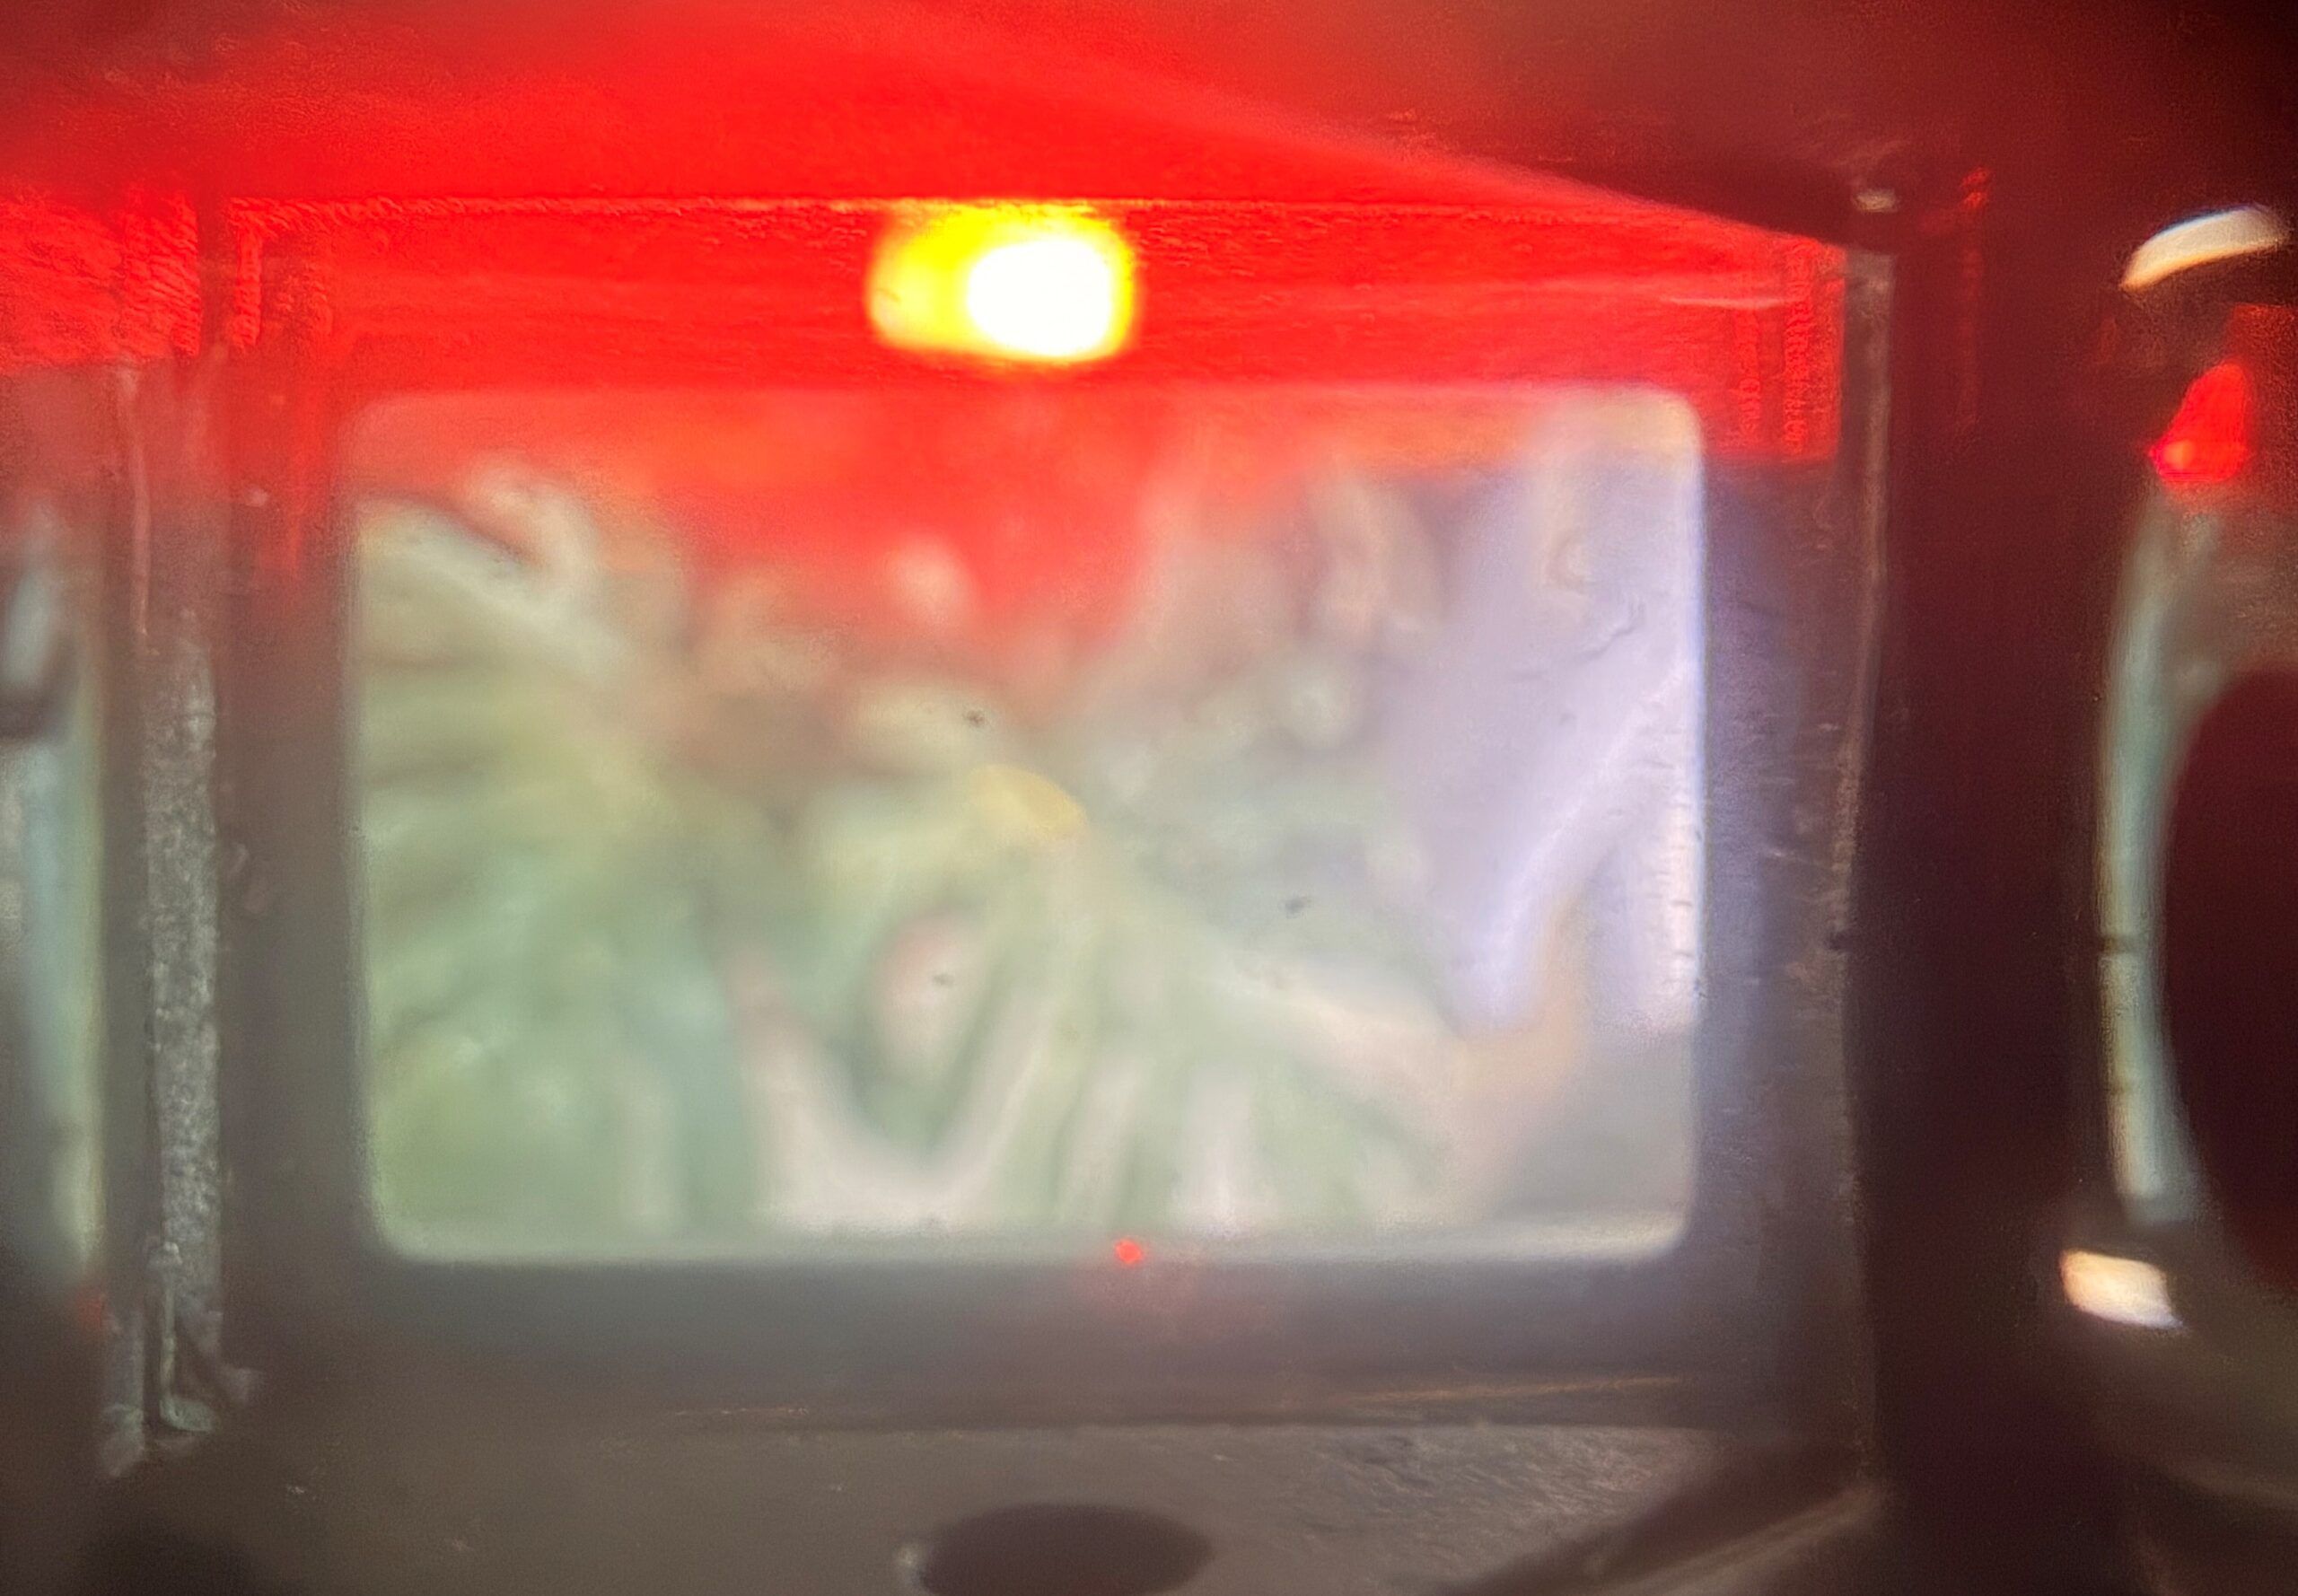
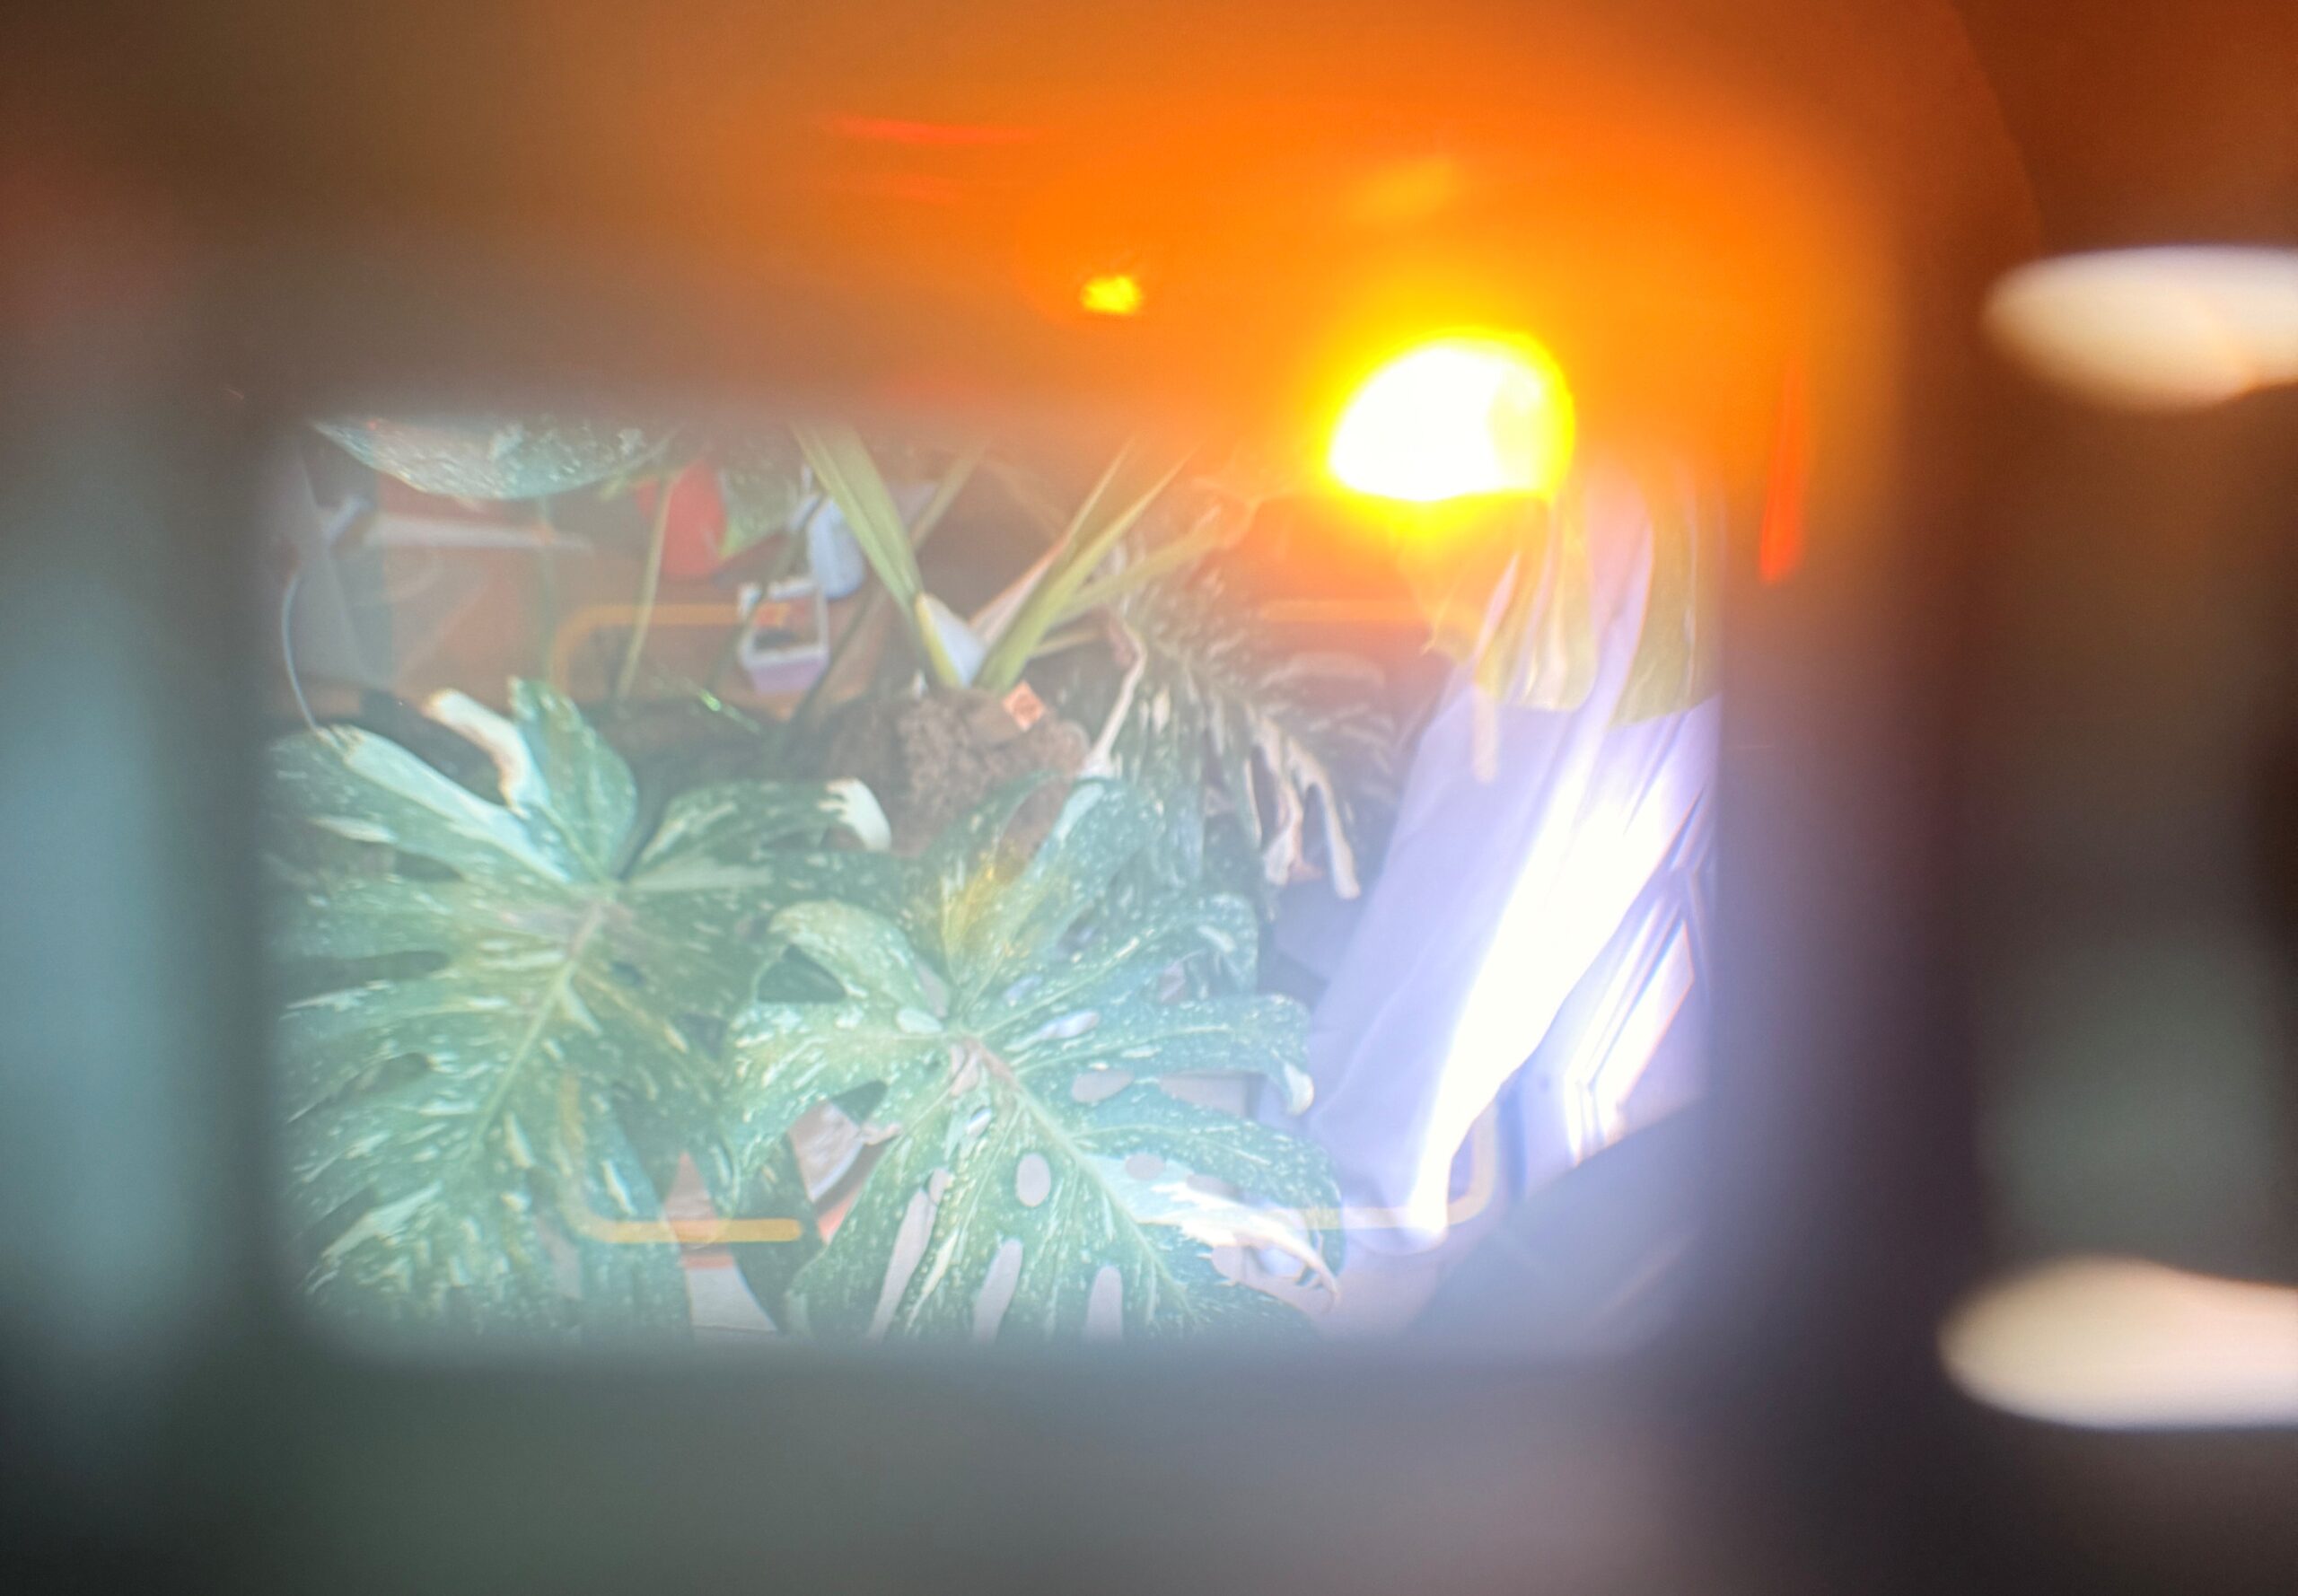
Warning indicators: Two “Magic Lamp” lights, orange SLOW and red OVER, visible on top of the camera and inside the viewfinder
Build: All-metal satin chrome body
Type: Rangefinder
The f/1.7 lens was exceptional when this camera came out and it still holds up. There’s a warmth and a softness to the way it renders images that digital just doesn’t do.
How do I know mine is a first-gen?
The Yashica Electro 35 went through a bunch of versions over the years: the G, GS, GT, GSN, GTN. Mine is confirmed to be the original 1966 to 1968 first-generation model, and here’s the evidence:
The lens reads “Yashinon DX” with no “Color” prefix. Later G-series models were rebranded “Color-Yashinon DX.” No Color = pre-1968.
There’s no “G” suffix anywhere on the body. It just says “Electro 35.”
Serial number starting with 811 points to late 1968 production, making mine one of the very last original Electro 35s before the G took over.
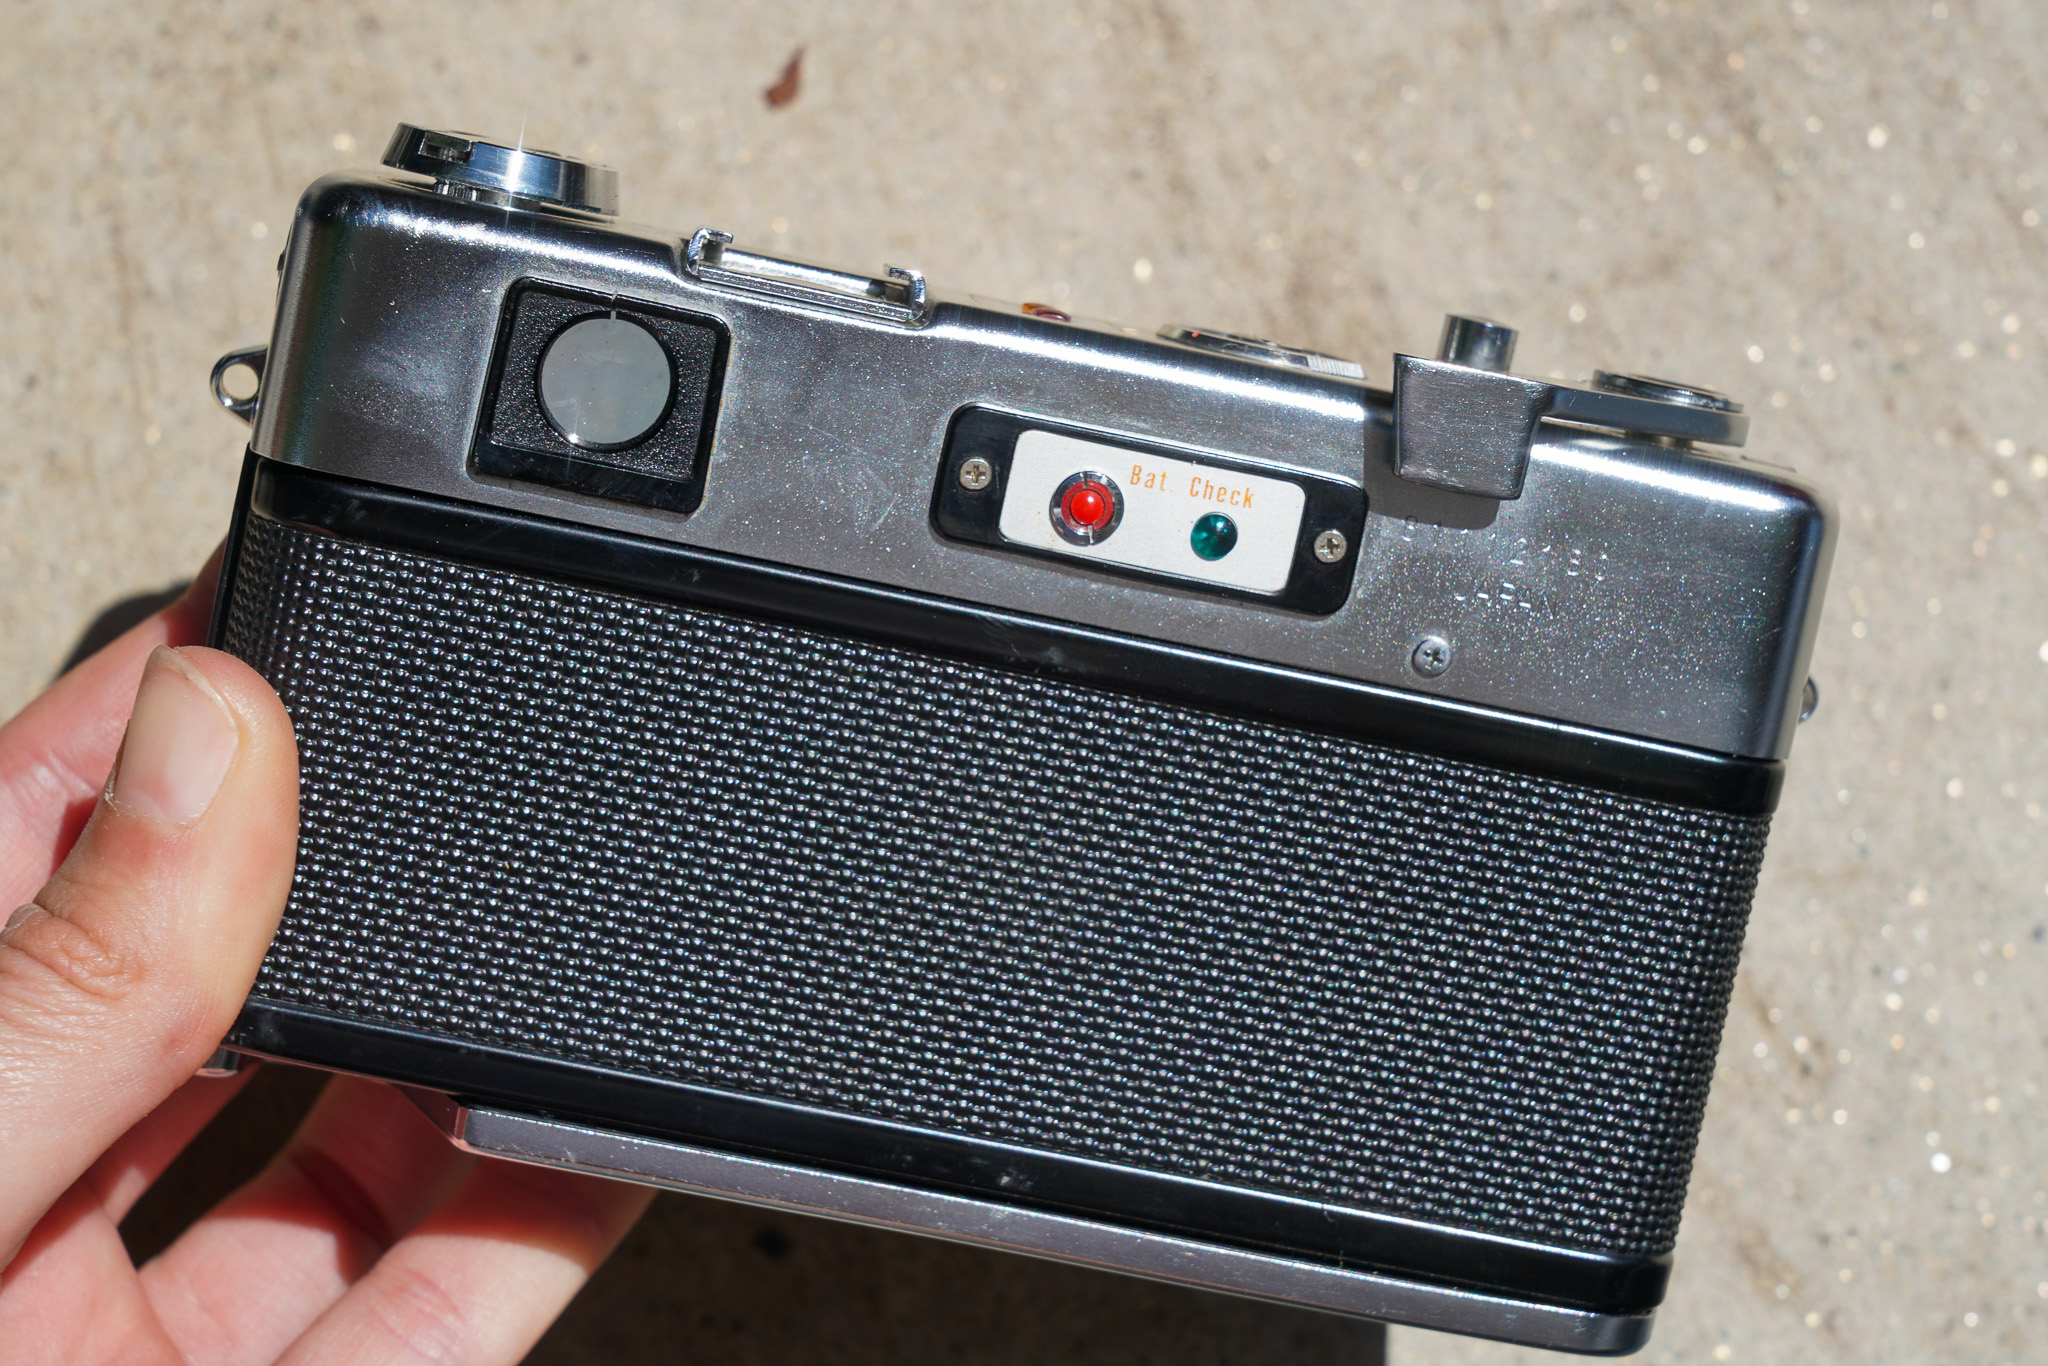
“Made in Japan” is stamped on the back. Later production shifted to Hong Kong.
It has a cold accessory shoe with no electronic contacts for flash. Later models added hot shoe capability.
Separate film advance lever and rewind knob. The GS changed the design with a combined rewind crank. My camera’s layout predates that.
A genuinely historic camera, in genuinely great shape. The fact that it ended up with me is kind of wild.
The battery situation
Here’s the part nobody warns you about. The original batteries for this camera are no longer manufactured. The Yashica Electro 35 ran on a 5.6V mercury PX32 battery, which was discontinued years ago because of environmental regulations. No battery means the electronic shutter doesn’t work at all, so the camera is basically a very beautiful paperweight without one.
My fix: a battery adapter plus a modern 6V 4LR44/PX28 battery (linked, respectively!) with a small tin foil shim to make solid electrical contact inside the compartment. A little DIY, but it worked. The Magic Lamp lights fired up and everything checked out.
I also gave the whole camera a thorough cleaning with isopropyl alcohol and cotton swabs. After that it genuinely looked new.
If you're picking one of these up used:
the most common failure is something the film community calls the “Pad of Death,” a capacitor failure that makes the shutter fire at full speed no matter what the light is doing. Mine was fine, but that’s the first thing to test if yours is acting up.
How to actually shoot it
This is a rangefinder camera, which works differently from the reflex cameras that were popular at the same time. With a reflex camera you look through the actual lens via a mirror. With a rangefinder there’s no mirror, no looking through the lens. Instead, you focus by watching a small double image in the center of the viewfinder, called the rangefinder patch, and turning the focus ring until the two images line up into one sharp image. That’s your focus point.
It felt strange for the first few frames and then it clicked. Always remember to take off your lens cap!!
A few things worth knowing before you pick it up:
The minimum focusing distance is 2.6 feet. Closer than that and your shot will be soft no matter how good your rangefinder alignment is.
The viewfinder also has automatic parallax compensation, so the frame lines shift slightly as you focus closer to account for the offset between the viewfinder and the actual lens.
The Original Manual
Amongst all the accessories I recieved, I actually have the full original manual for this camera, which is pretty cool for something this old. If you’re trying to figure out a specific setting, troubleshoot something, or just want to nerd out on 1960s Japanese camera documentation, I’ve uploaded the whole thing below:
LINK
Reading the Magic Lamps
The two little indicator lights are your whole exposure system. Learn them and shooting becomes effortless:
No lights = you’re good, take the shot
Red OVER light = overexposure. You need a smaller aperture like f/8 or f/11, or an ND filter if you’re already stopped all the way down
Orange SLOW light = the camera wants a shutter speed slower than 1/30s. Handheld camera shake territory. Open up your aperture, or put it on a tripod
The camera will still try to expose correctly even when a light is on. It just can’t guarantee you’ll be happy with the result.
viewfinder with no lights
viewfinder with red overexposure light
viewfinder with orange underexposure light
Film to shoot
For outdoor California shooting, I reached for these:
Kodak ColorPlus 200 is cheap, widely available, and handles a variety of lighting well. Great starting point.
Kodak Gold 200 has a slightly warmer, richer look that feels very right for this camera.
Kodak Ultramax 400 is the move for lower light situations. Faster film also means the SLOW light comes on less, so you get more usable handheld shots.
Both of my test rolls were ColorPlus 200 and I was genuinely shocked by the results.
First impressions
I’ll be honest, my Uncle Jim was skeptical. When I told him I wanted to shoot with the Yashica he basically laughed and said my Pentax ME would probably take better photos anyway, since it’s newer and more technologically advanced. And okay, fair point on paper. But I had a feeling.
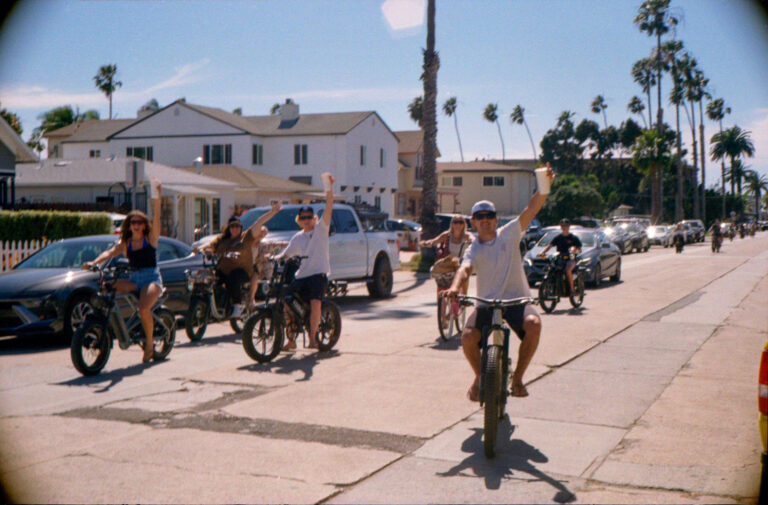
The lens flare on sunny shots is everything I hoped for. This 35mm renders a scene that feels textured and alive in a way that’s really hard to get from digital. Every frame feels warm. A little imperfect. Like a memory rather than a document. Plus, something about carrying an old film camera around in public inspires people to be a little more fun and whimsical.
The automatic exposure system held up way better than expected for a 60-year-old camera. Even some shots where I knew my focus was a little off came out sharper than I thought they would. The camera really does do a lot of the heavy lifting.
The shutter is so quiet. Much quieter than almost any camera from this era. For street photography or candid shots, that matters a lot. People don’t clock you.
And there’s just something about carrying this specific camera. My uncle bought it in Vietnam in the 60’s, and now it’s sitting with me on Newport Ave in Ocean Beach photographing my neighborhood. A camera that’s seen the world, and still has more work to do 🙂
Sample Photos
All shot on Kodak ColorPlus 200, Yashica Electro 35, around Ocean Beach and Pacific Beach, San Diego.
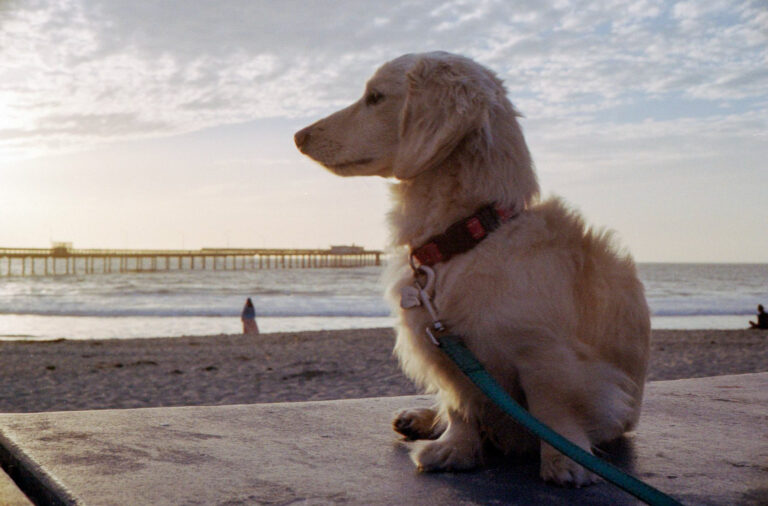
The OB pier at golden hour:
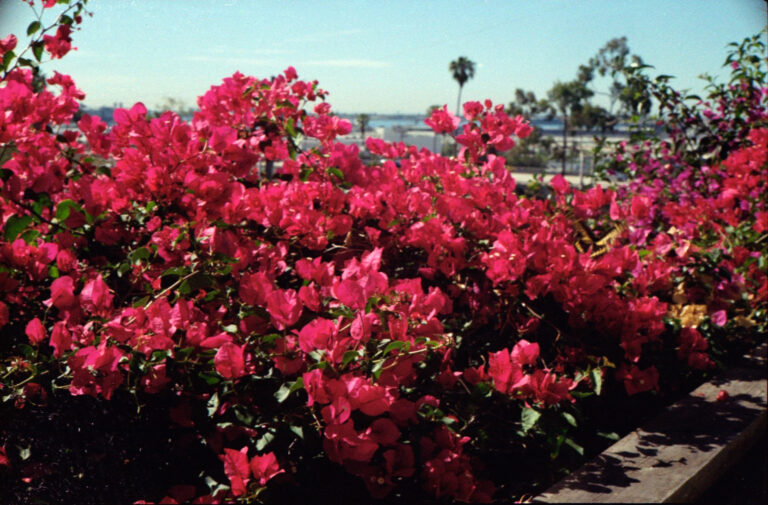
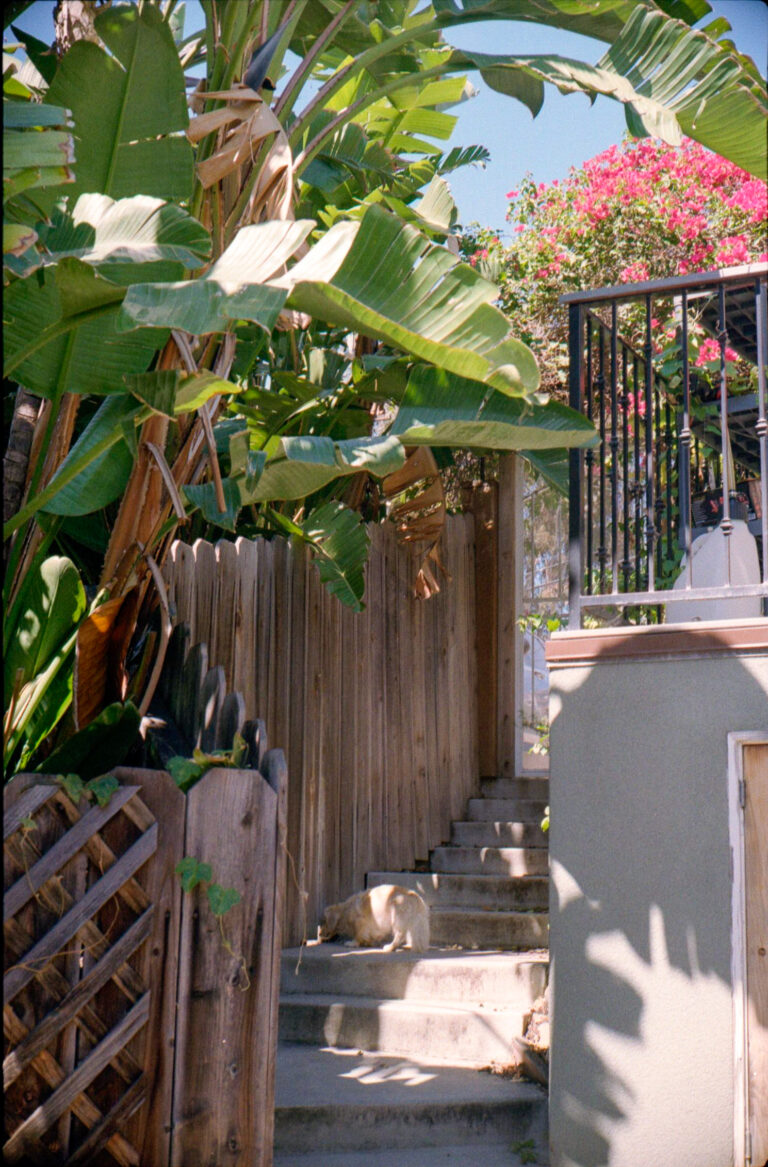
Test shooting in my backyard. The bougainvillea basically begged to be photographed.
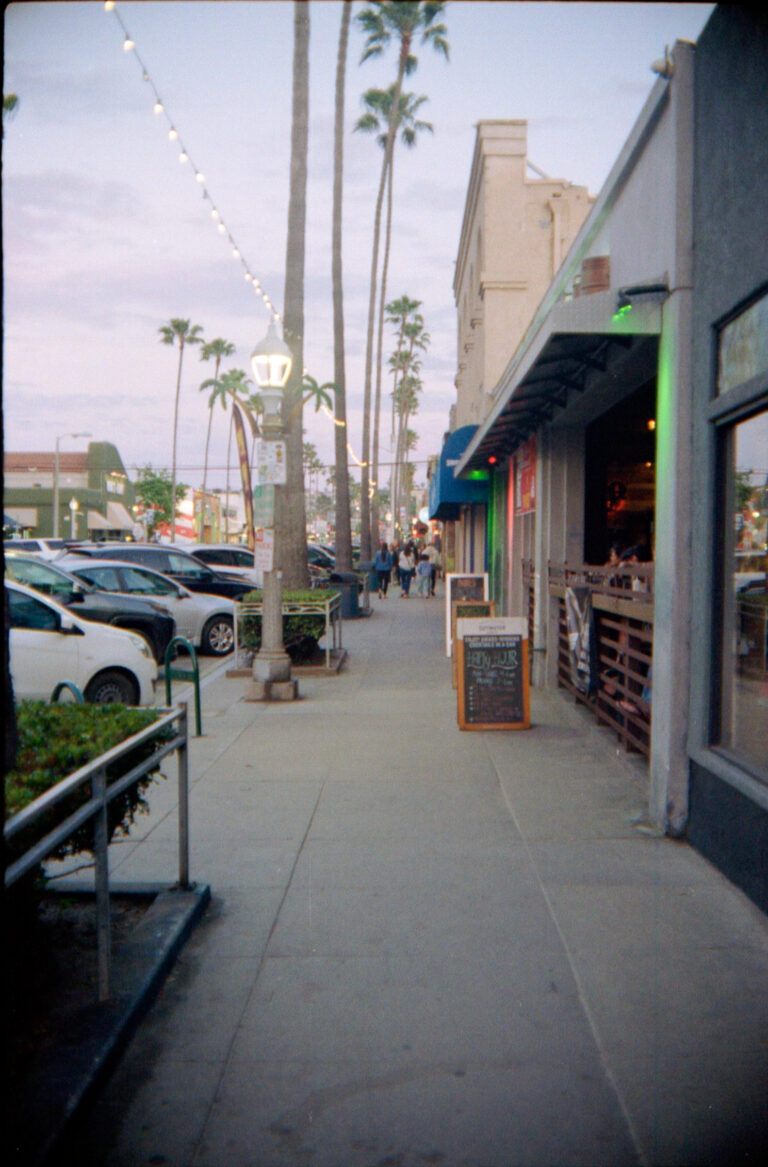
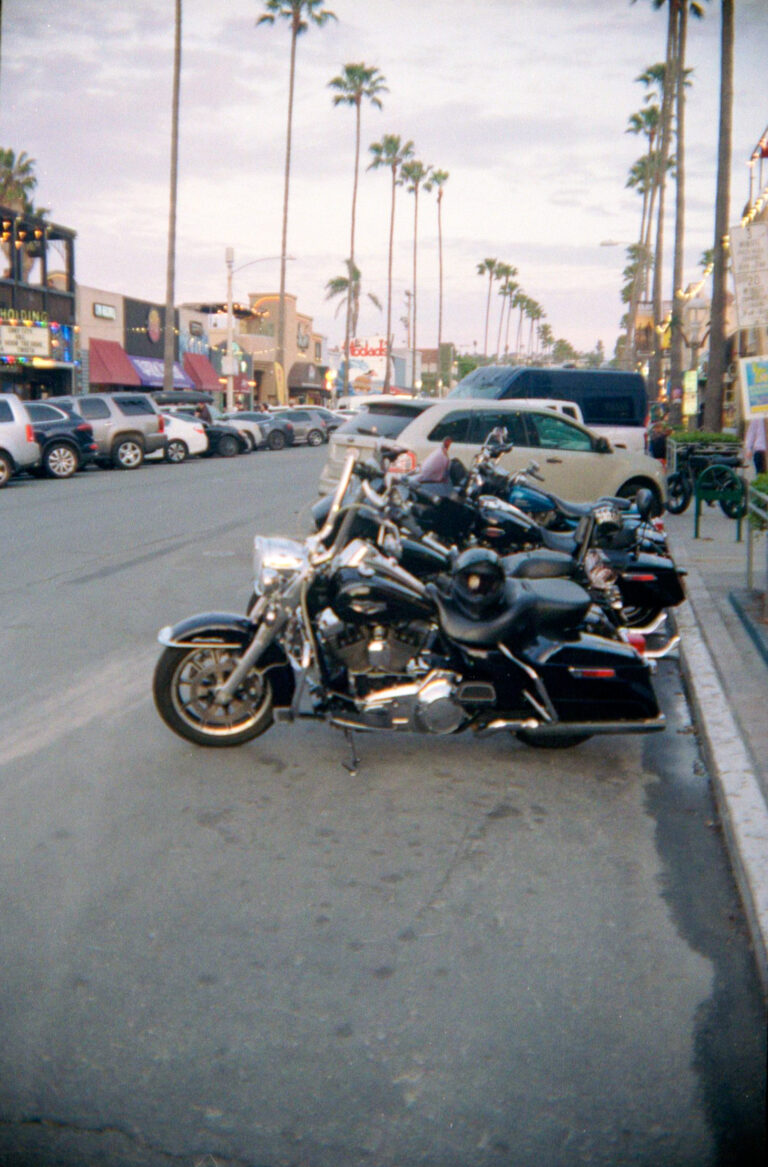
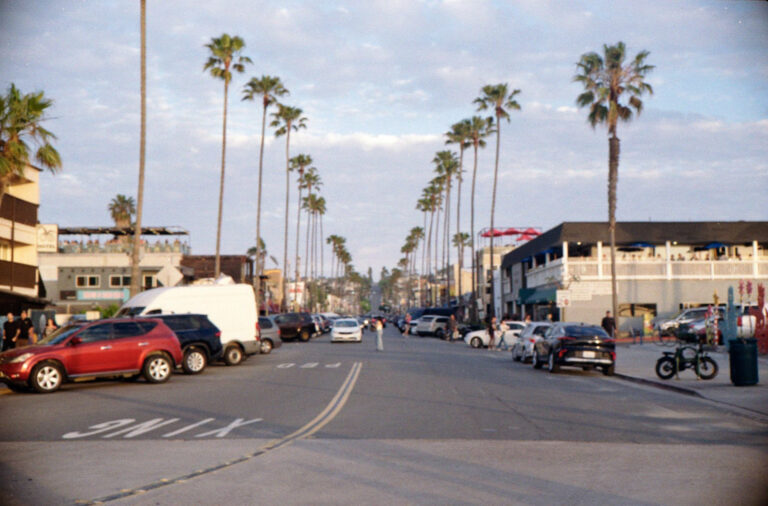
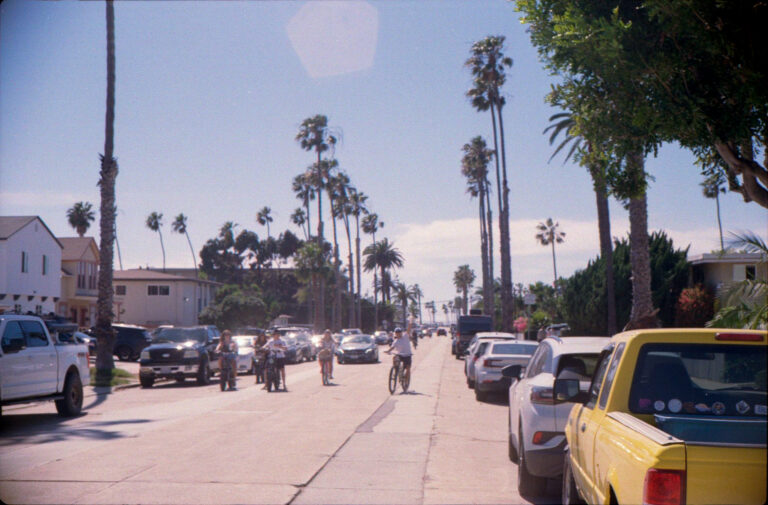
Newport Ave at dusk. One of my favorite streets to walk down.
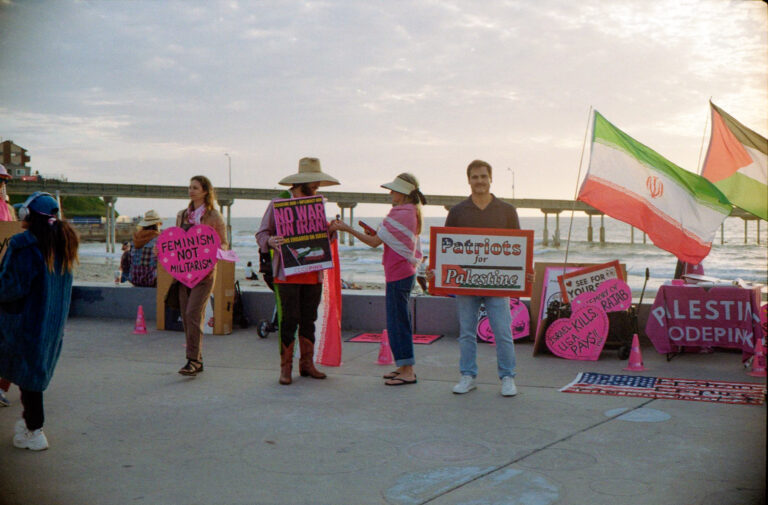
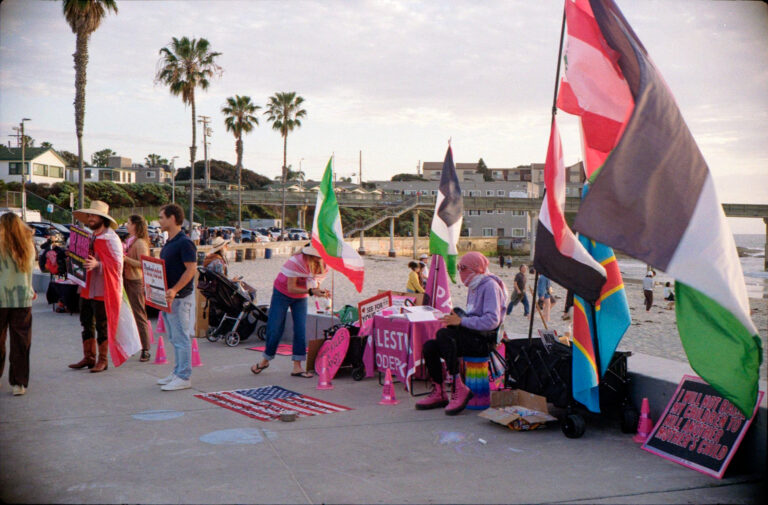
Caught a protest happening down by the pier on Newport Ave.
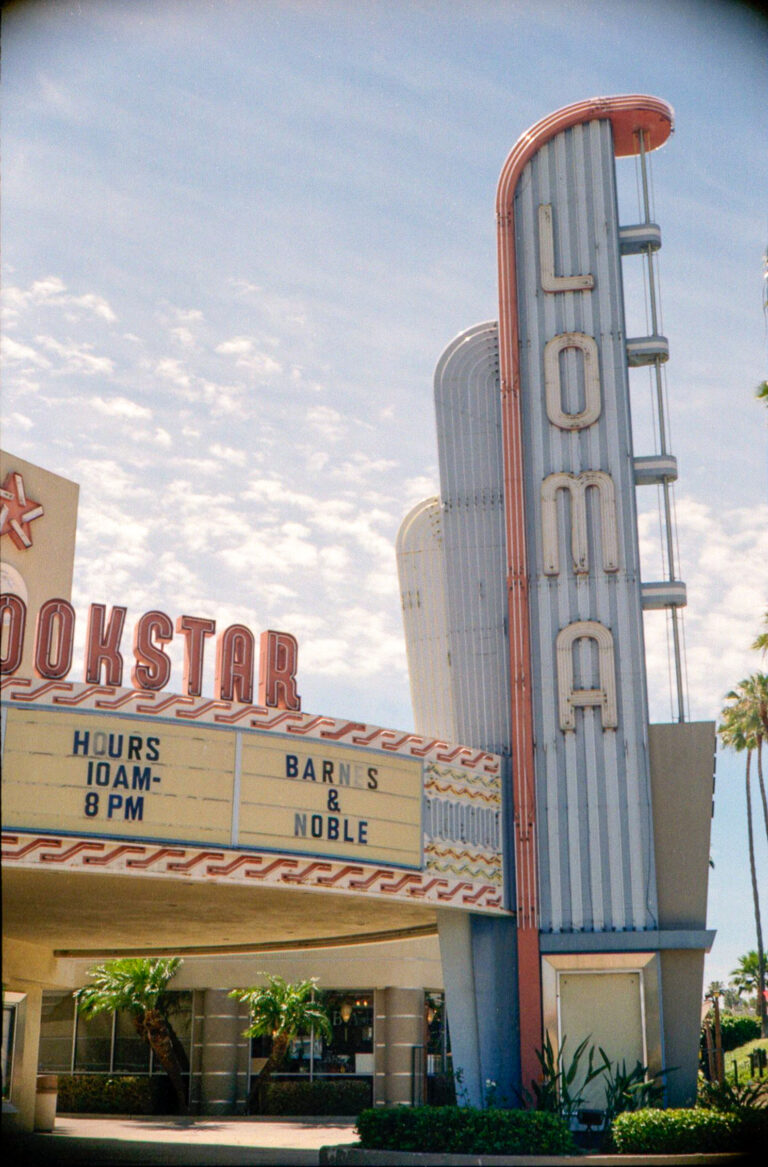
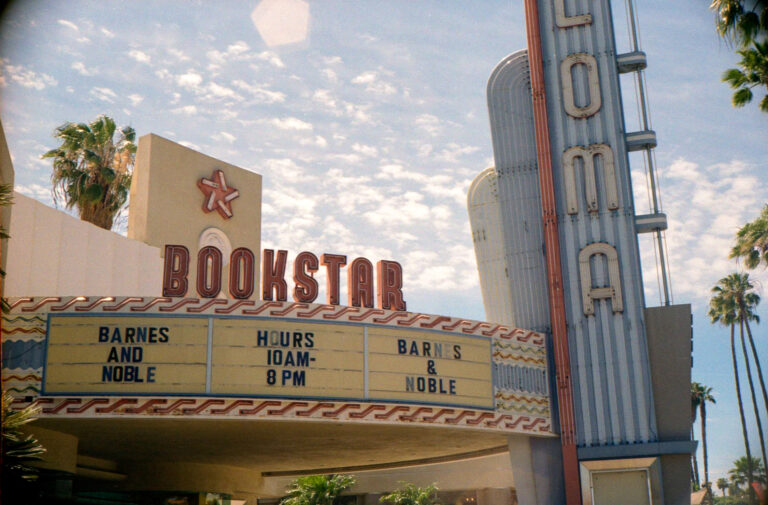
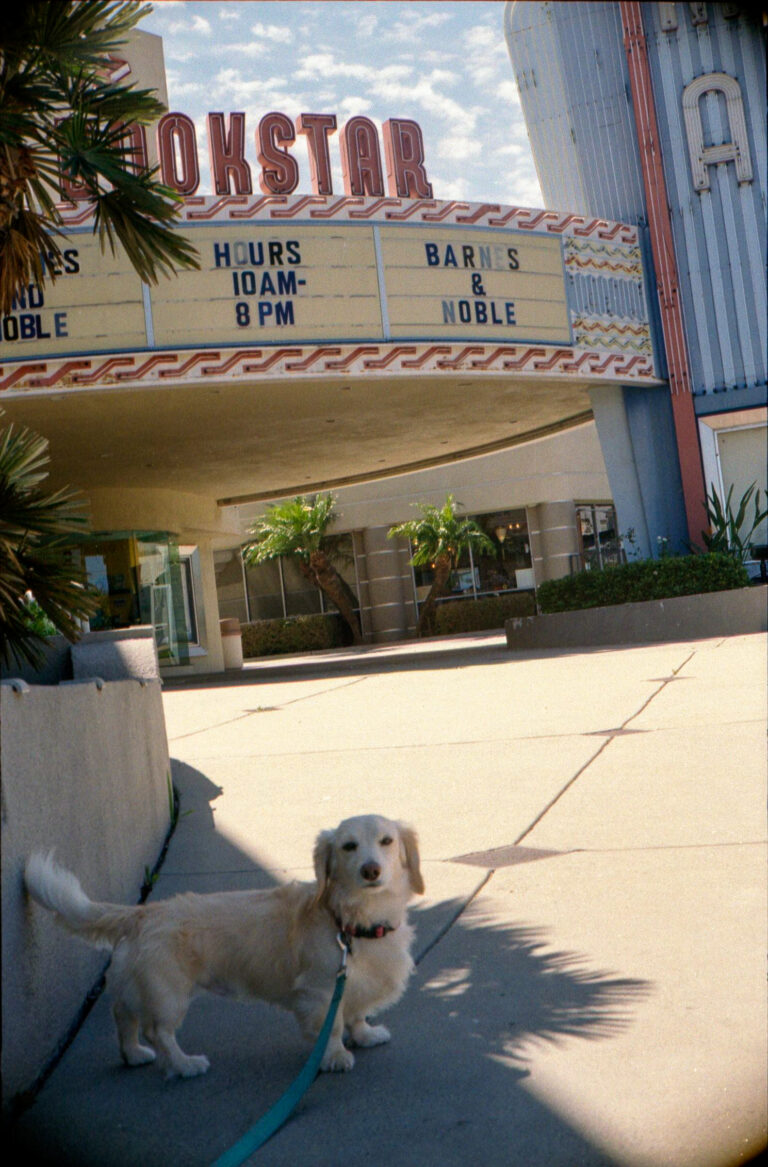
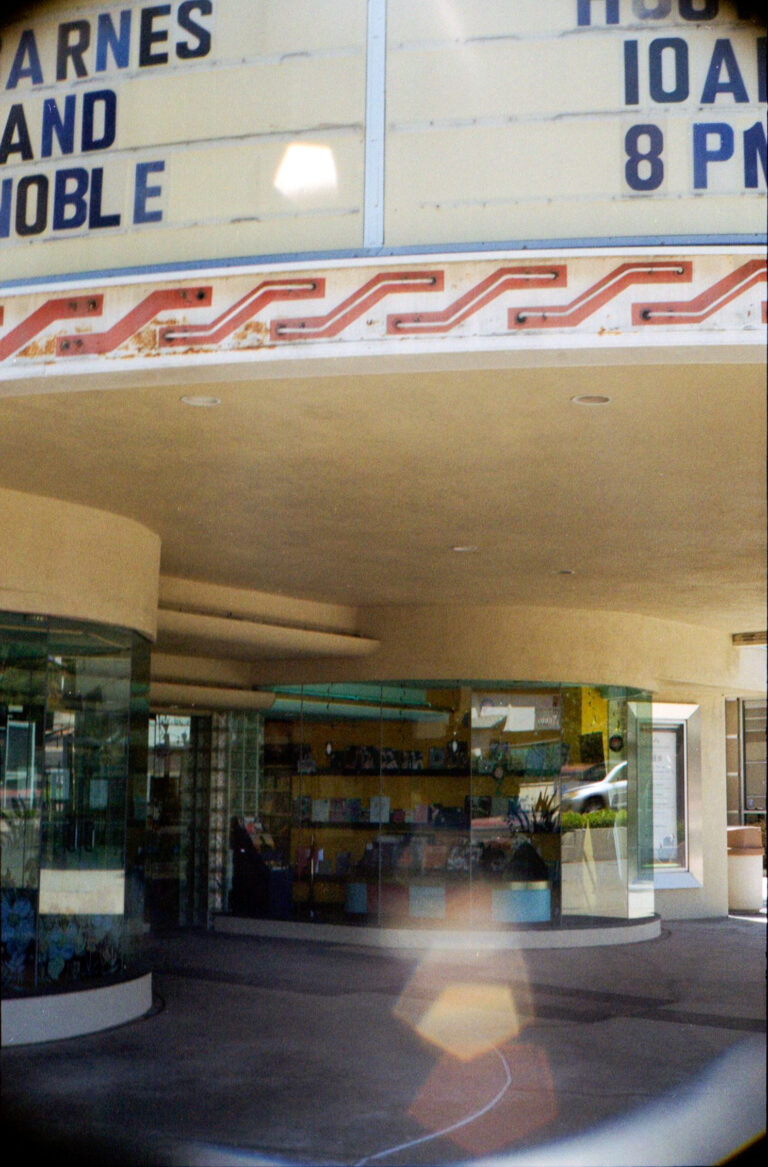
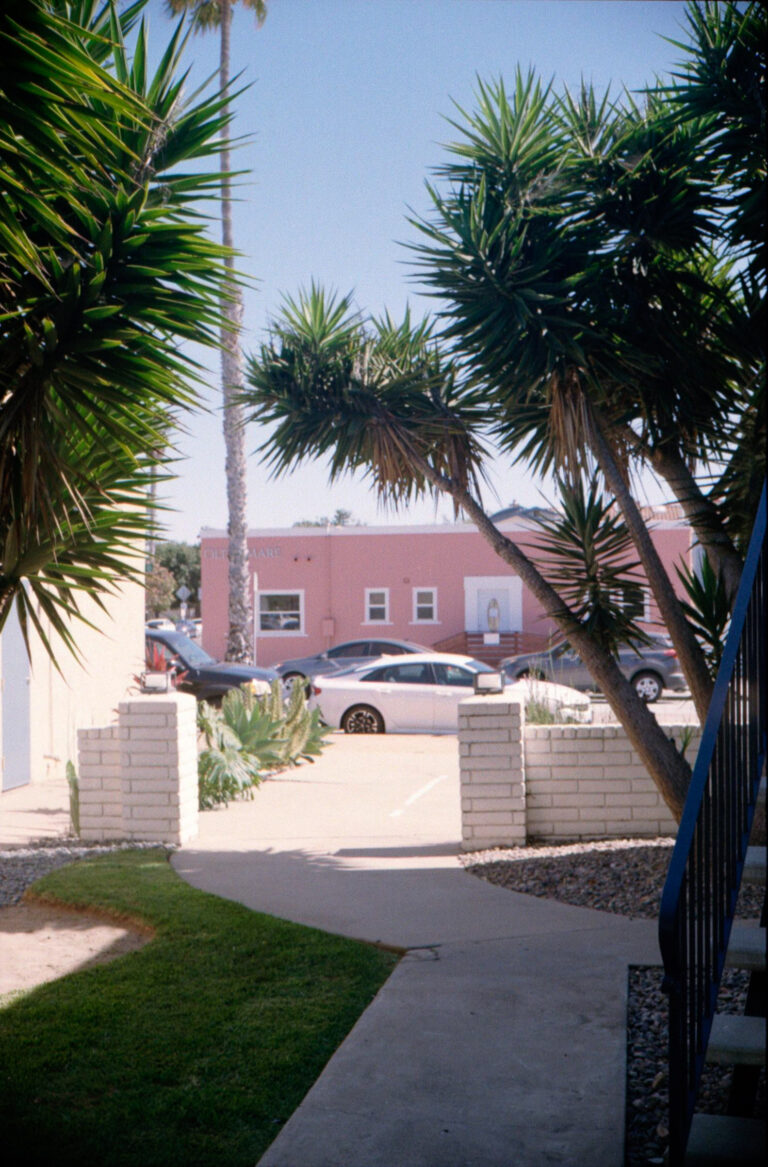
Barnes & Noble on Voltaire in OB used to be a movie theater called the Loma Theatre. The old marquee is still up and it is so, so good.
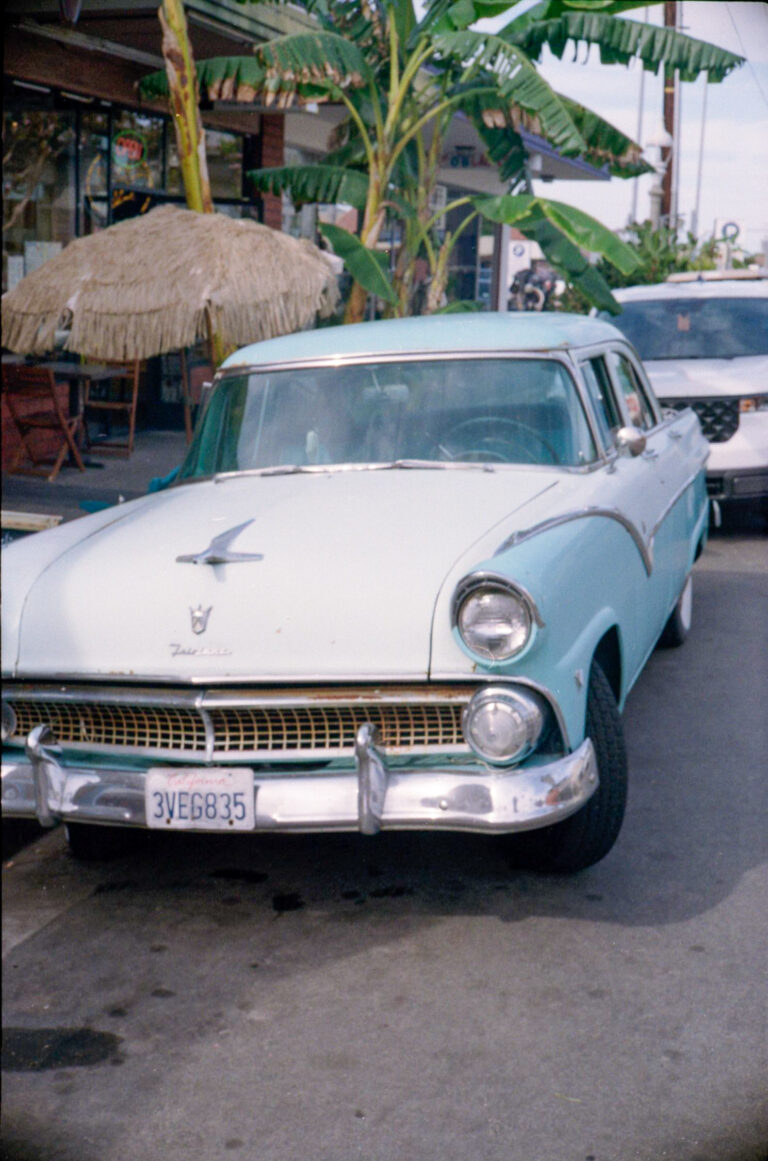
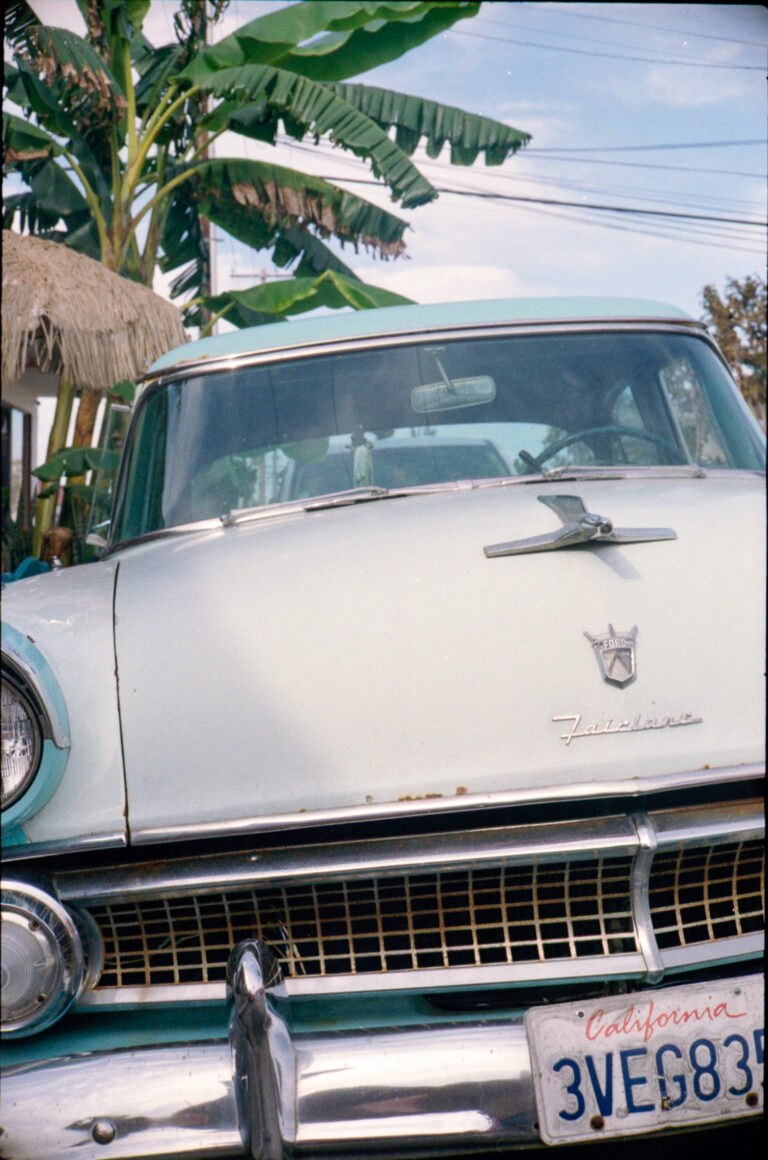
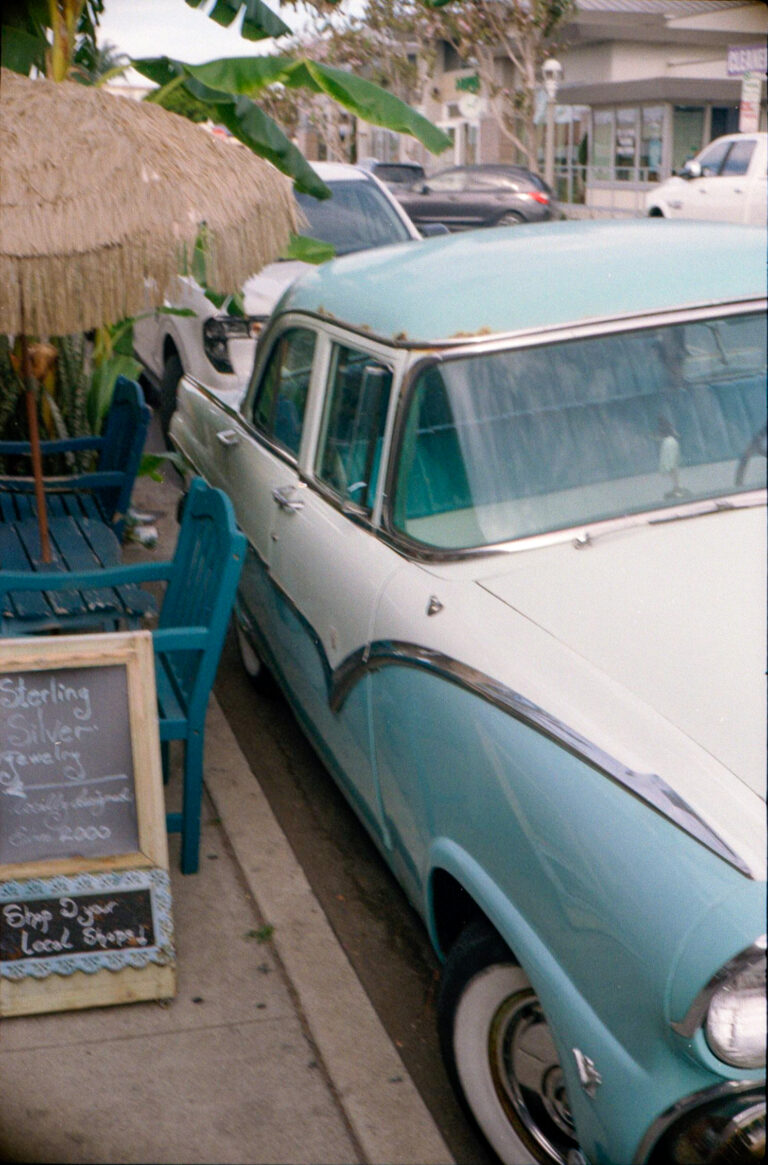
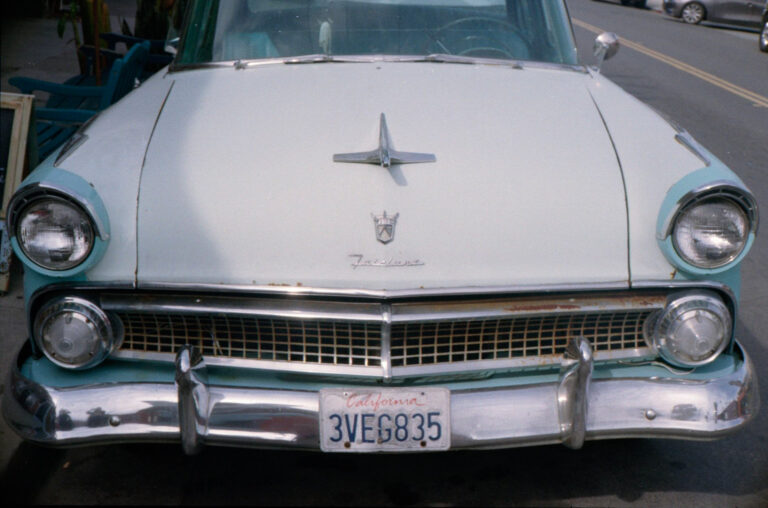
Stumbled across this old Ford Fairlane parked on Newport Ave. Ocean Beach just has those kind of streets.
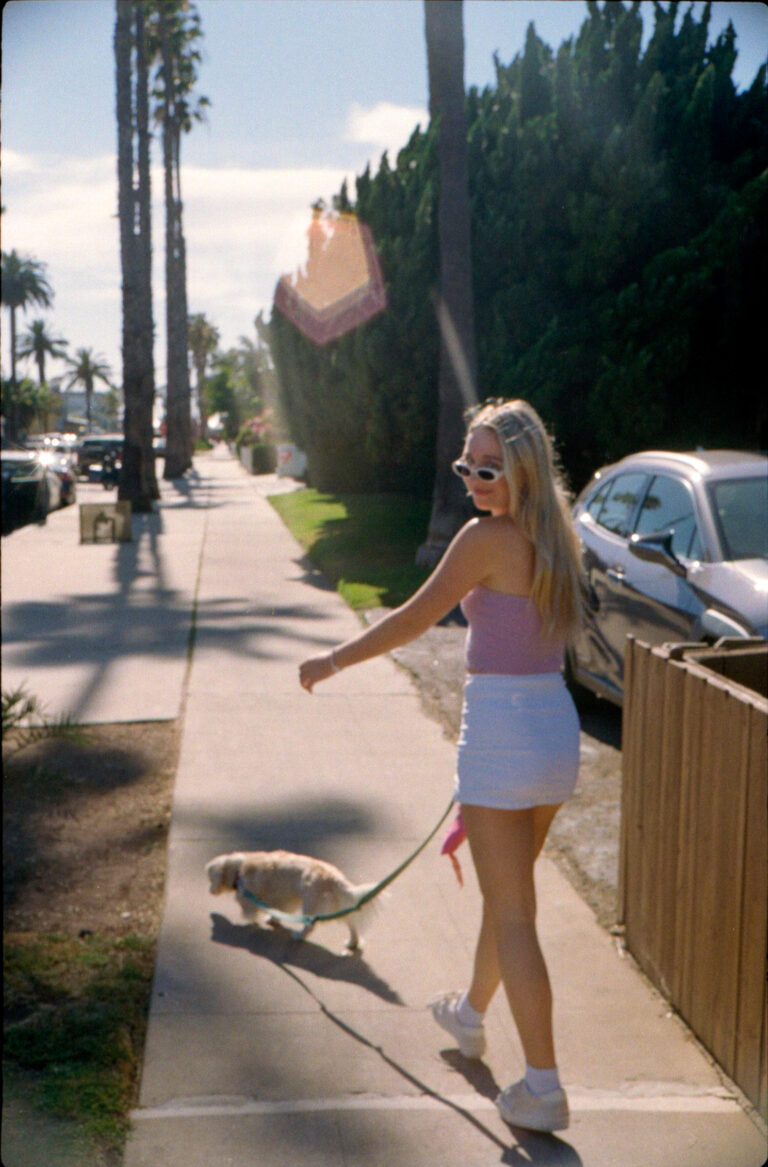
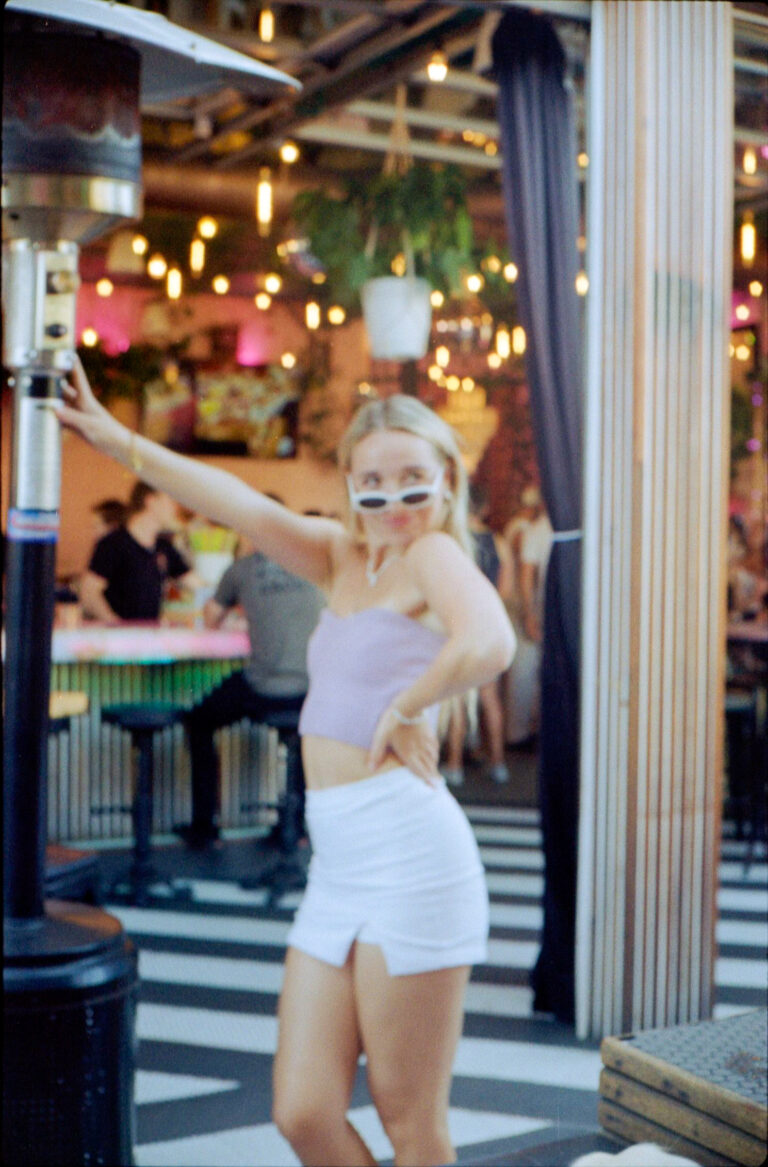
My friend and I frolicking through Pacific Beach, making our way down to Flamingo Deck.
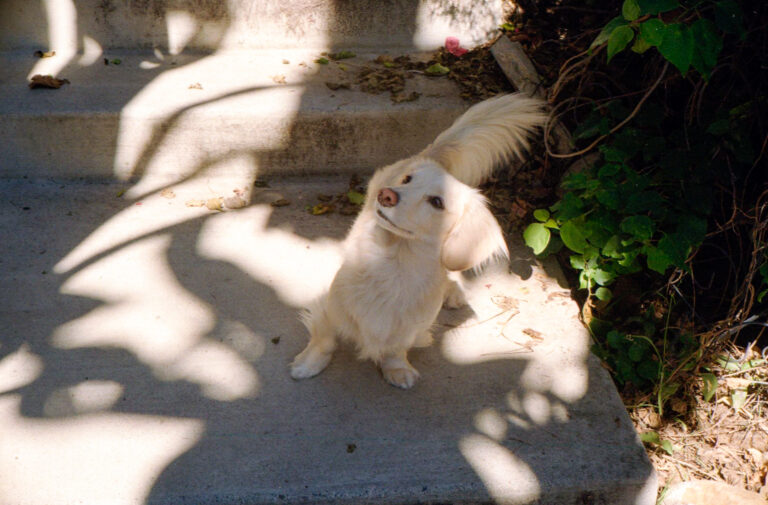
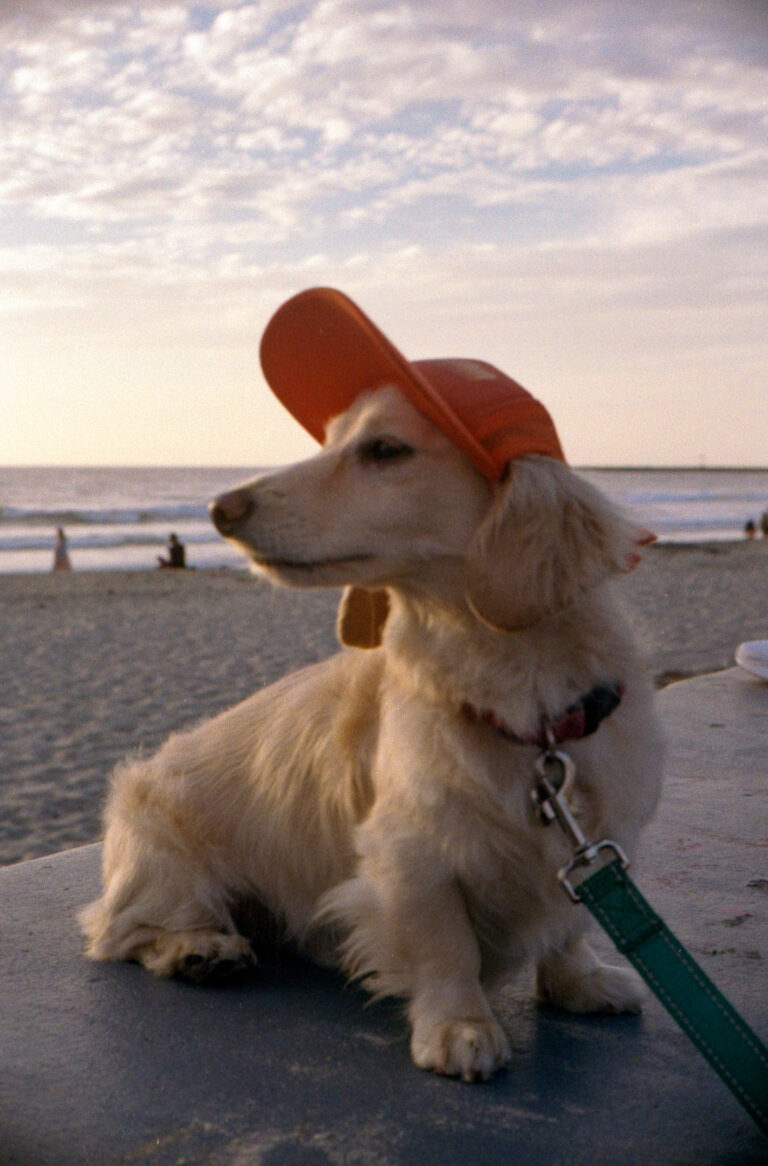
Maui at the OB pier. He was not thrilled about the hat but he wore it with dignity.
So is the Yashica Electro 35 worth shooting?
Yes, full stop. If you can find one in decent shape and you’re willing to do the battery adapter thing, this camera is genuinely special.
What I love about it:
The 35mm f/1.7 lens and the way it renders images
Aperture-priority makes it accessible even if you’re newer to film
The Magic Lamp system actually works and is easy to learn
All-metal build that has survived 60 years and counting
The rangefinder focusing feels great once it clicks for you
The history
What to know before you get one:
You will need a battery solution. A battery adapter and a 4LR44 or PX28 battery (and some cleverly placed tin foil) did the trick for me.
Rangefinder focusing takes a little getting used to
Minimum focus distance is 2.6 feet, don’t forget it
Check for the Pad of Death issue if buying secondhand
More resources
If you want to dig deeper on this camera, here’s what I found most useful: