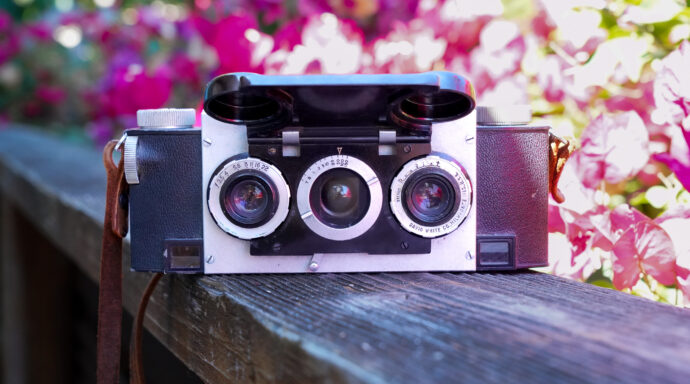
A couple weeks ago I brought a 3D film camera from the 1950s to a pool party at the Hard Rock Hotel in San Diego. Then I turned the photos into this:
It’s a wigglegram, and it’s the most fun I’ve had with my Stereo Realist in ages! It’s up on Instagram too — give it some love over there!
If youre curious, keep reading to learn more about my process for turning 3D Stereoscopic photos into wigglegram videos.
Wait, what's a wigglegram?
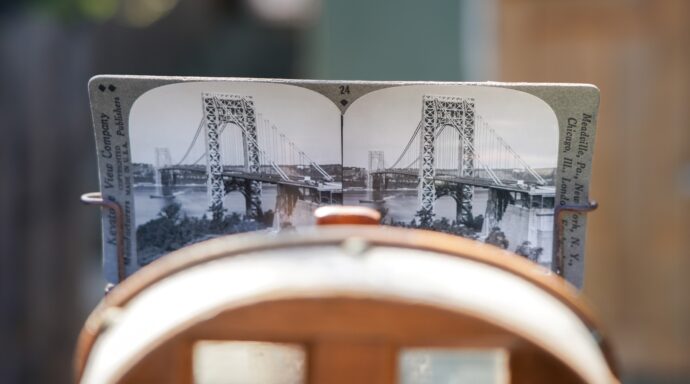
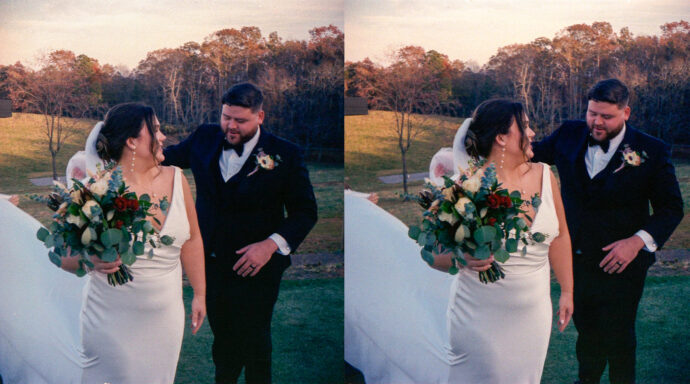
A wigglegram (also called wiggle stereoscopy) takes two slightly offset images [a stereo pair] and rapidly flips between them so your brain reads the depth on its own. No glasses, no special viewer, no crossing your eyes. It’s the easiest way to actually feel a 3D photo.
And the look is having a real moment. I’ve been seeing wigglegram and parallax content all over my feeds for months, which tells me this old technique is getting a fresh, growing audience. I love that.
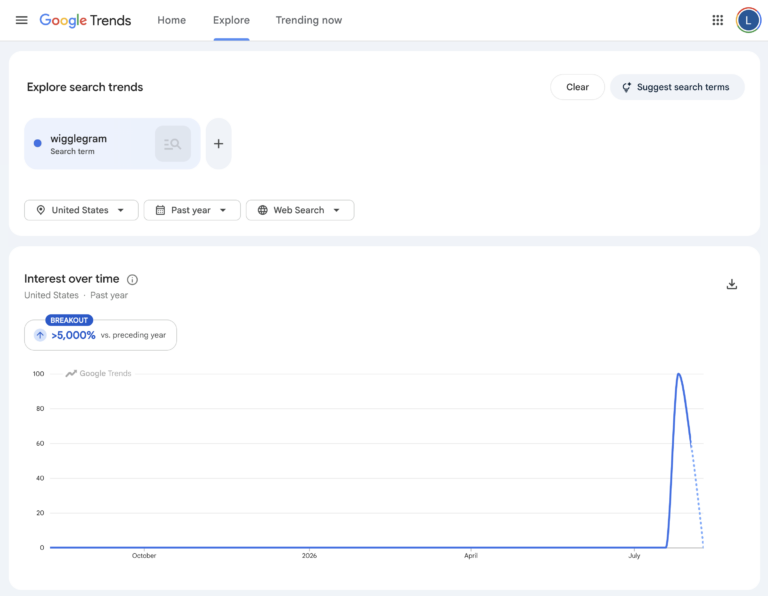
Google searches for "wigglegram" over the past year (United States). Source: Google Trends.
Why I made it this way: bridging the 3D gap
Here’s the honest reason. I’ve been trying forever to share my stereoscopic film photography with people who aren’t already into it, and true 3D stereo photos come with a catch: you have to learn how to view the side-by-side pairs. That learning curve has been my single biggest roadblock to sharing this work on social media.
Even my friends in this video (people who’ve watched me shoot this camera for a while) still couldn’t get their eyes to lock onto the side-by-side 3D effect. The wigglegram fixes that instantly. It hands everyone the depth without any homework.
Is it the fully immersive 3D experience these photos can show in person? No, not quite. (And yes, I’m still nagging my friends to learn the real side-by-side view.) But it gets people in the door, and the same friends who were confused at first are finally enjoying this kind of photography right alongside me.
How I made it, and what I'd do differently
How I made it.The quick version:
Shot the photos on my Stereo Realist with Kodak Gold 200 35mm film at the pool party. (Look for me and the camera in a mirror-reflection cameo in the video.)
Developed, scanned, and cleaned up each stereo pair.
Ran them through WiggleMaker, a GIF maker built specifically for stereo pairs. Because each pair is already stitched together, the wiggle lines up automatically instead of me hand-matching every frame. Plus, it lets me mess with the focal point for each stereo pair, as they translate into wigglegrams.
What I’d do differently. GIF makers (this one included) compress your image quality on the way in. For a fast turnaround it was perfect, because the goal here was volume and speed, not gallery-grade sharpness. But if I were chasing quality, I’d skip the GIF step entirely and try to work with the original full-quality photo files throughout the whole process. Maybe that means I’d drop the original photo files straight into a video editor, setting each image’s duration to match the wiggle frame rate. This would be more work, and a noticeably sharper result. But then again, film was never a fast-paced world anyway, and I do like the “focal point” layer to this that I didn’t realize was an option for wigglegrams. more to explore on the next video!
See (and learn to see) more 3D work
If this got you curious about the real thing, I’ve built a whole corner of my site for it. Start at my 3D Hub, browse my stereoscopic film photography portfolio, or go deeper on the camera in Exploring the Stereo Realist and on the history behind it all: